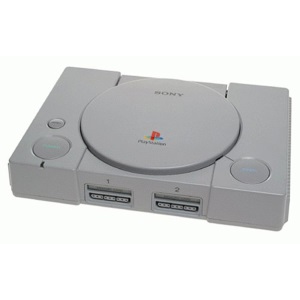
Android Emulation: Playstation
The first gaming console that came from Sony back in 1994 revolutionized the gaming market by introducing high quality games to the masses. The company sold 100 million units over the years accompanied by over 2.500 game titles from all genres, for all ages. Since we live in the era of superfast devices able to calculate over 50 gigaflops in our pockets, portable emulators started to rise allowing us to replay our favorite childhood games again.
I will try to introduce PSOne emulation in this article to folks that never dared to try it, and share few pointers along the way. There are 3 different PSOne emulators currently available for the Android platform, all of them highly supported and maintained. FPSe and ePSXe for Android are exclusive (and paid), while RetroArch emulates many more systems and it’s free. There used to be 4th competitor (psx4droid), but unfortunately it bit the dust and is no longer developed.
What to expect
While still not perfect, FPse, ePSXe and RetroArch can emulate large amount of games. You should remember that just because the game starts, it doesn’t always mean its 100% completable. Performance will vary per device, but using the default mode will provide sufficient speed even on older phones and tablets, although 1Ghz single core CPU is the minimum recommended. All the screenshots here were taken on Samsung Galaxy S2. The weakest device I ever tested those emulators on, was Motorola Milestone (the OG Droid), a device with single core 600 Mhz CPU overclocked to 1 GHz. Most of the games were playable in software mode with occasional slowdowns. Performance varied from 35 to 60 fps depending on the game and situation.
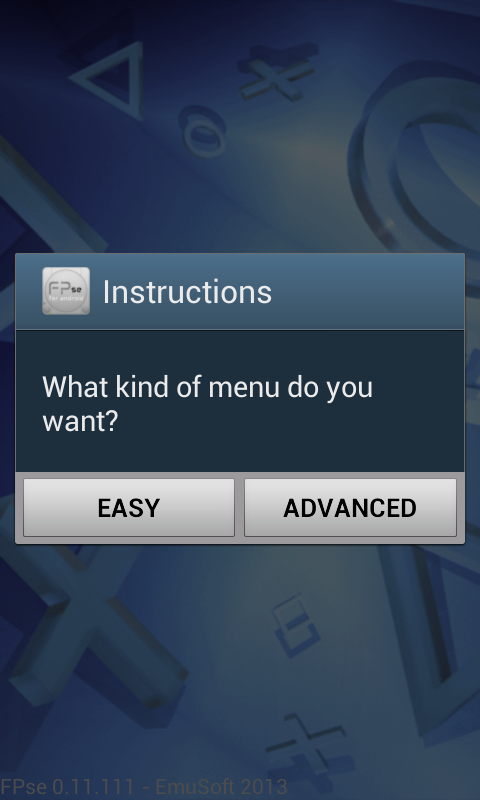
All the emulators listed here will provide two different functionalities when Playstation 1 console emulation is in question. I am going to call them “easy” and “advanced”. The easy mode will require setting the bios, loading the game and playing. Thats it. This mode will use the default software low-res plugin that is fastest and most accurate, but will not provide advanced options like HD resolution or antialiasing. Still, the games will look better then playing them on real Sony PS1.
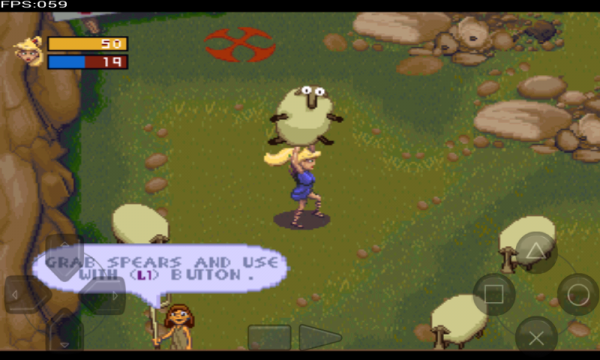
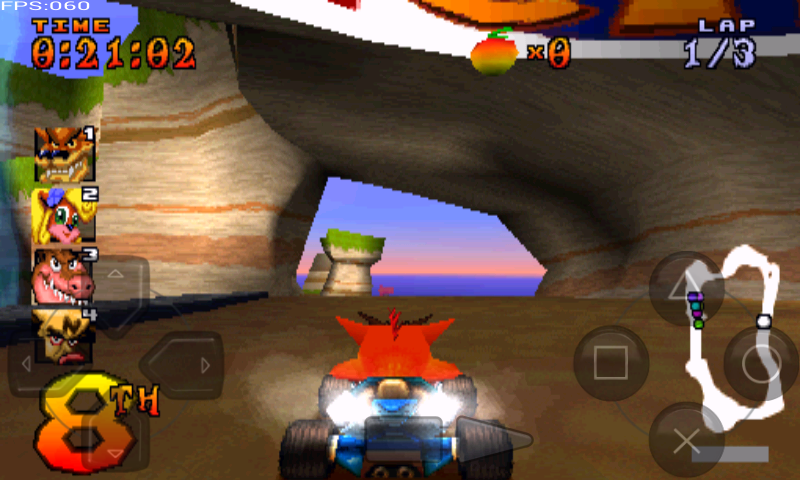
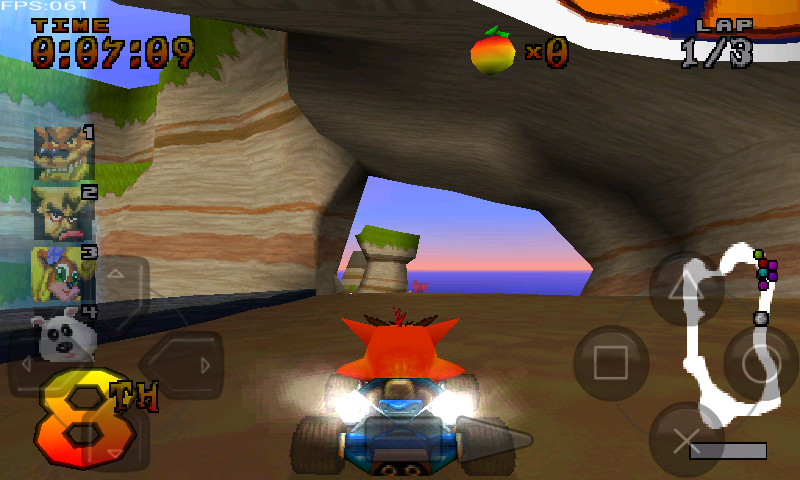
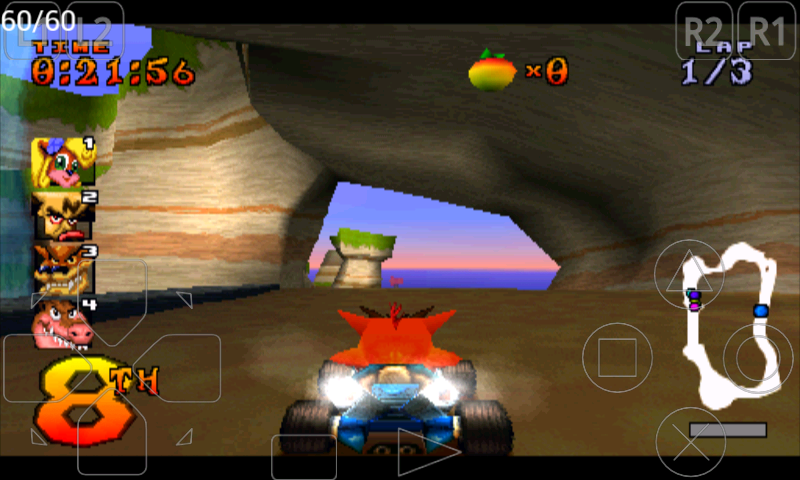
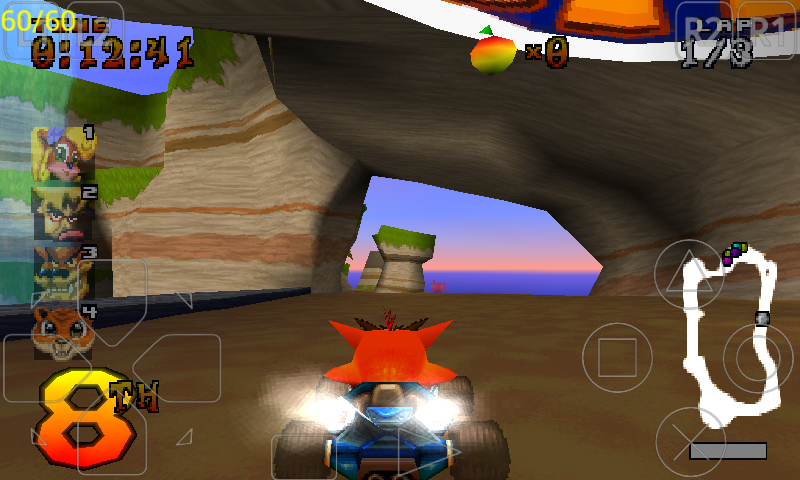
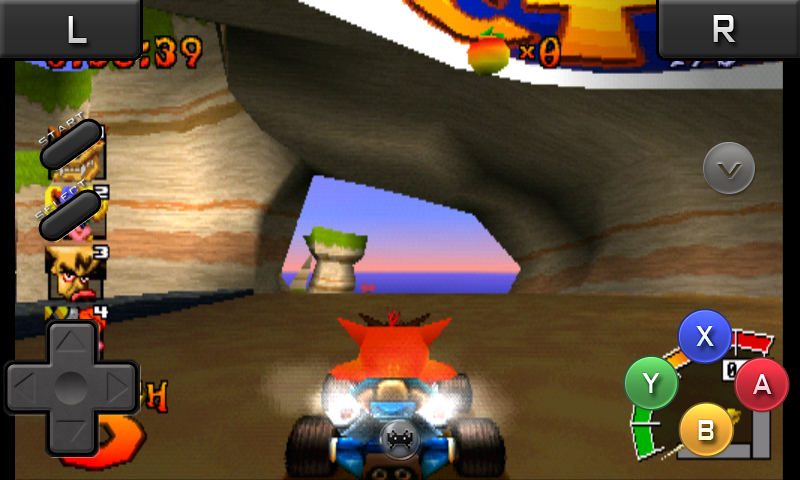
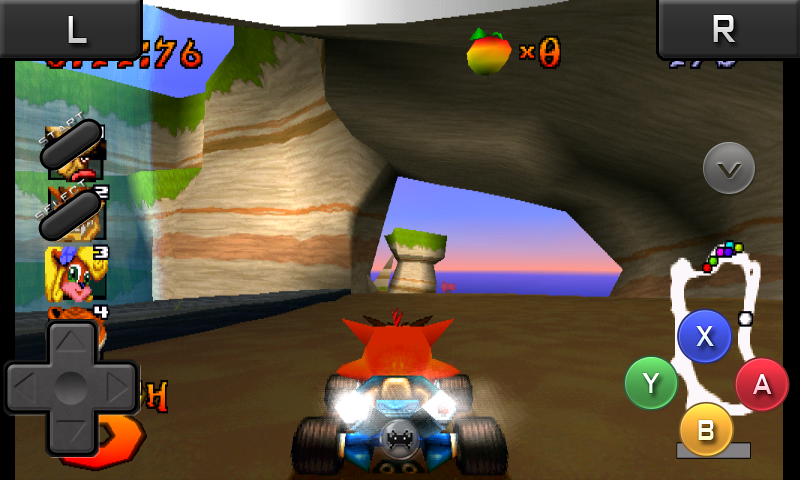
If you feel like pushing the settings to the max and making the graphics prettier, you can set and tweak the OpenGL plugin. The sad truth about this is that there is no universal default setting that will work in every game on every device. You will have to experiment a bit and see what suits your needs. I included screenshots of Crash Team Racing running both in software and OpenGL mode just so you can compare what you get. The screenshots showing the OpenGL mode are taken without any additional tweaks in the plugin settings.
Controls
All the emulators mentioned here support overlay on-screen gamepad emulation and can also emulate either analog or digital input. You can pretty much do anything you want with these, including customization, downloading different skins, tweaking size or rearranging the buttons. They all work reasonably well, but the fact is, you are pressing against flat surface and not even haptic feedback will convince you otherwise.
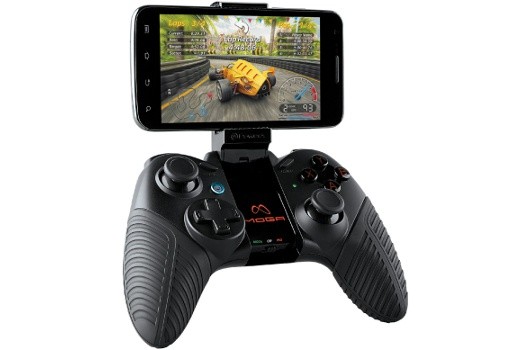
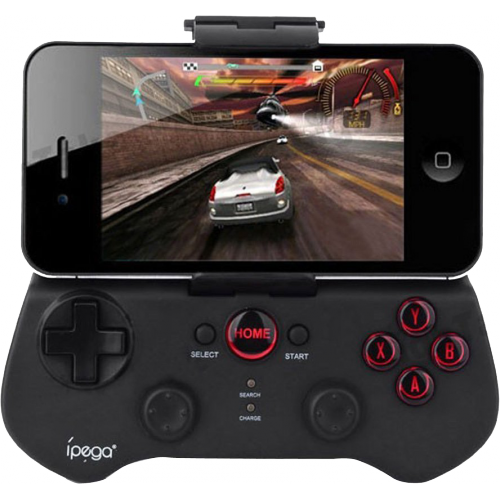
If you want to be serious about playing PSOne (and other emulators) games on your device, you will definitely want one of the supported external controllers. The most famous bluetooth and wireless radio controllers are the Xbox 360, PS3 Sixaxis and Nintendo Wii-mote. Android supports most of the standard USB controllers used on PC as well, but your device should support USB OTG (on the go) and you need the appropriate converter. Most of them are plug’n’play, meaning they will “just work” without installing additional software. Specialized controllers are also available such as the Moga PRO and iPEGA, that will provide all the functionality of the standard gamepad plus convenient claw grip for your device.
FPSe
What is FPse
It’s a PSOne emulator (doh). The project started in 2001, but really took off when the developers released the Windows Mobile FPseCE version in 2009. Then in 2011 it was released for Android, the version we are interested at most. I started using FPSe shortly after it debuted on the Marketplace (Google Play today) and witnessed many changes over the past 2 years, most of them positive. Today, FPse enjoys more than 200.000 active users and mostly positive feedback.
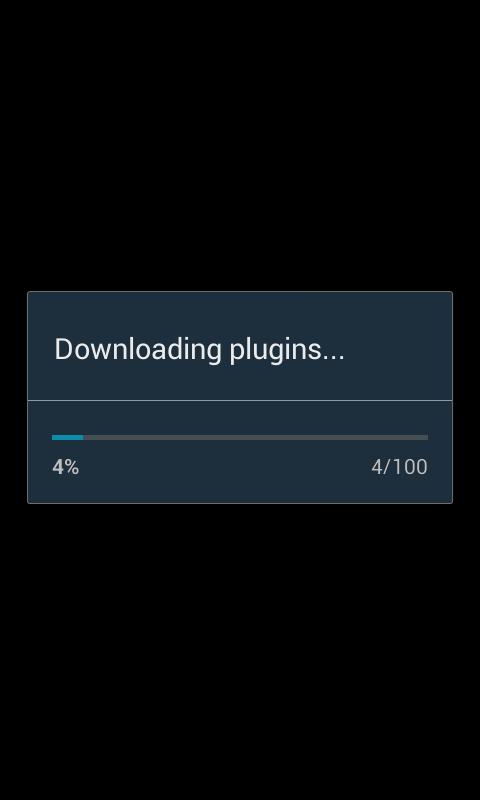
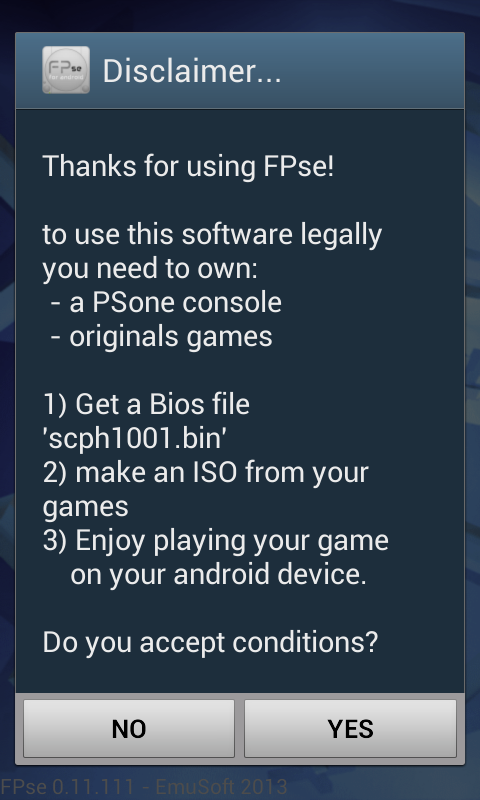
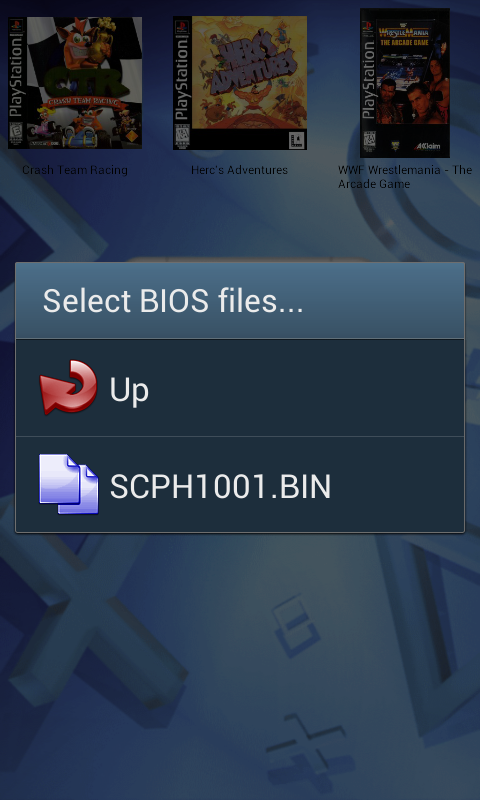
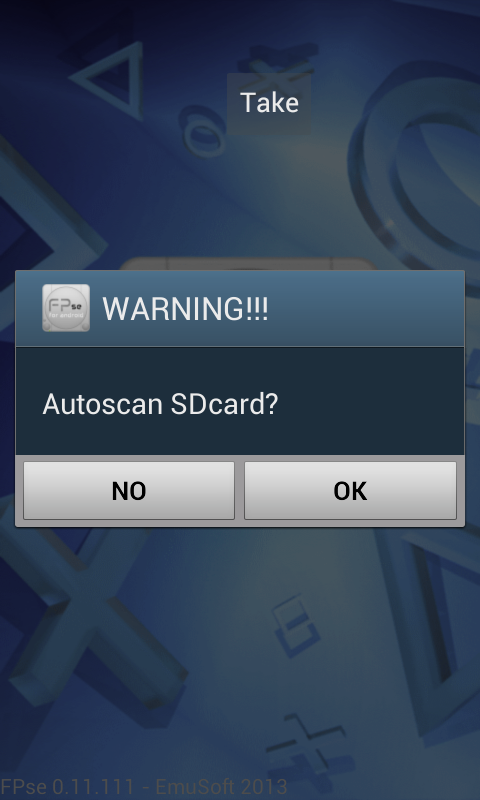
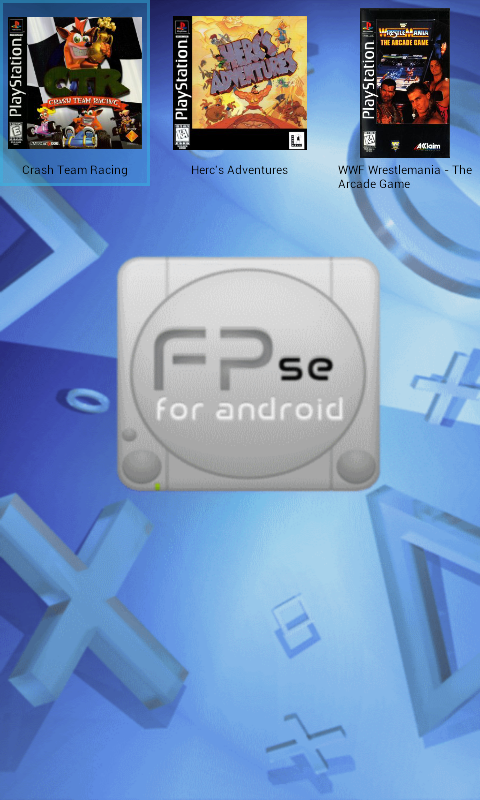
FPse will require two things. The PSOne bios and the game image provided in .img, .iso, .bin, .cue, .nrg , .mdf and .Z disc image formats. If you chose the easy mode, it will conveniently scan your removable medias for games, sort them out and download the appropriate cover. FPSe will automatically download all the needed plugins, just sit back and relax.
Using the advanced mode will provide a bunch of options you can configure, tweak or experiment with. You can make use of the OpenGL plugin by visiting the MISC. menu, enabling it and restarting the program.
One of the strong points of FPse is the very active user community board, where you can find help about pretty much anything, share OpenGL settings or ask for help or explanation of some specific option.
The downside of FPse is that menus in the advanced mode can still be improved and properly indexed. Many options lack official documentation and the compatibility list on the official website has been down for some time now.
ePSXe for Android
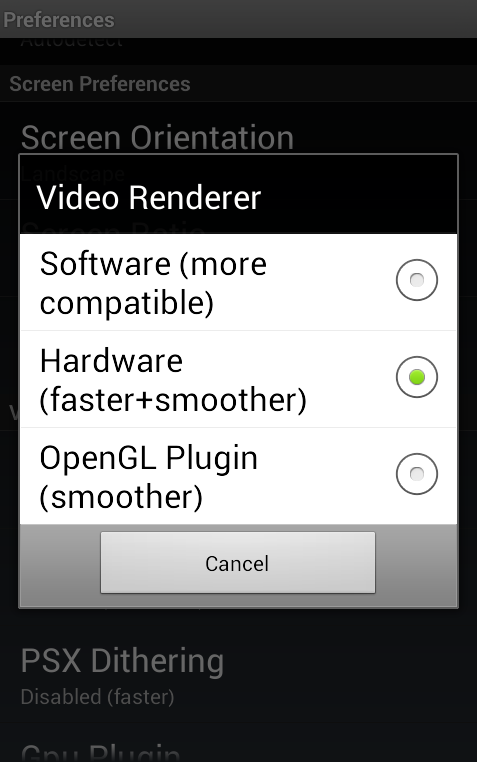
This is a direct port of the ePSXe emulator for PC that has been around since 2001 and by now has reached full maturity. The emulator provides high compatibility and good speed. It offers both software rendering and OpenGL HD rendering, but in order to use it you will have to manually download Peopsxgl Plugin and transfer it to your device, then load it up in the video options. ePSXe provides better menu implementation compared to FPse, and one really big help file that explains most of the options, however there is no website or forum dedicated to Android users so seeking help can be a bit pain in the rear.
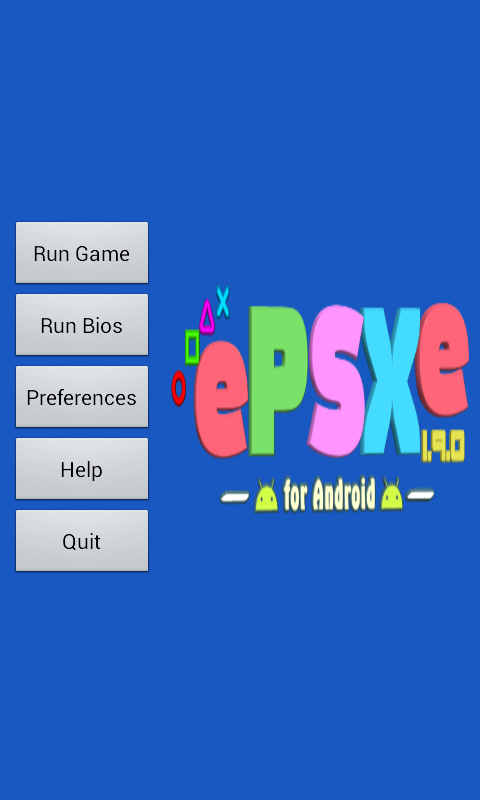
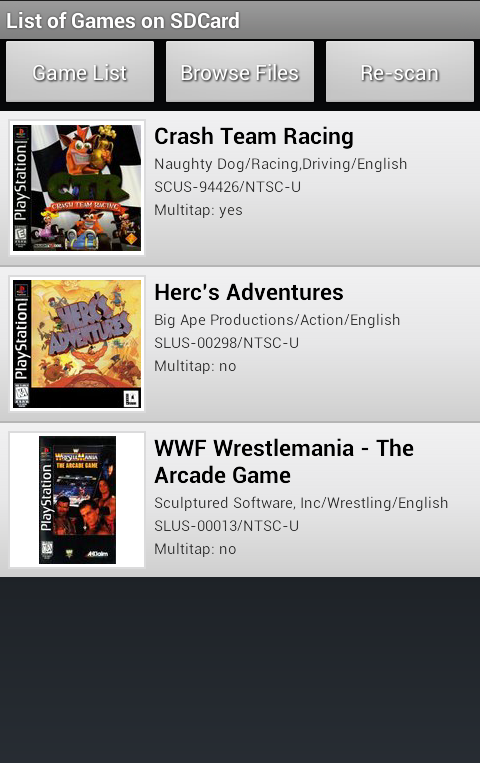
Upon starting, ePSXe will greet you with the main menu where you can load up the Bios (that you previously transferred), or start playing some game. The program will auto scan the storage media and download adequate covers for easier management.
There are two really special things exclusive to ePSXe. The first one is the split screen multiplayer for tablets. I haven’t been able to try it myself, but I must admit it does look tempting. The second thing is the memcard save files. They are compatible and interchangeable with the PC version of ePSXe.
RetroArch
RetroArch is quite different from the above two, mainly because it utilizes the libreto generic emulator core API, providing emulation of multiple systems to the end user. This is all really complicated and unnecessary to explain here, but if interested you can visit RetroArch’s homepage to learn more.
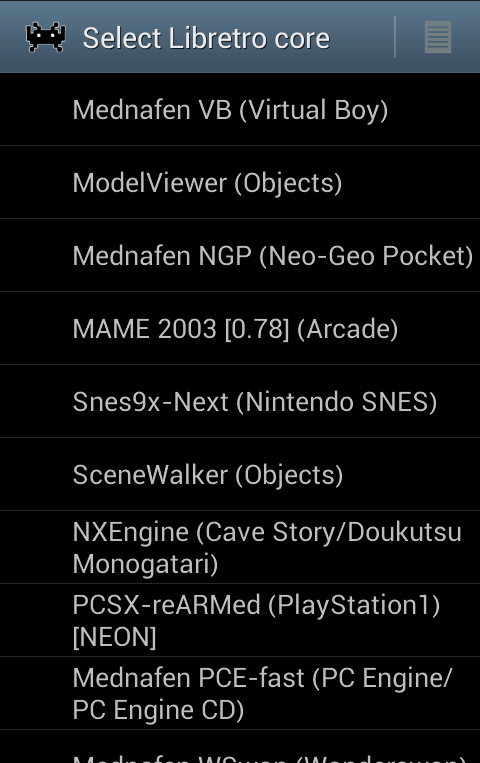
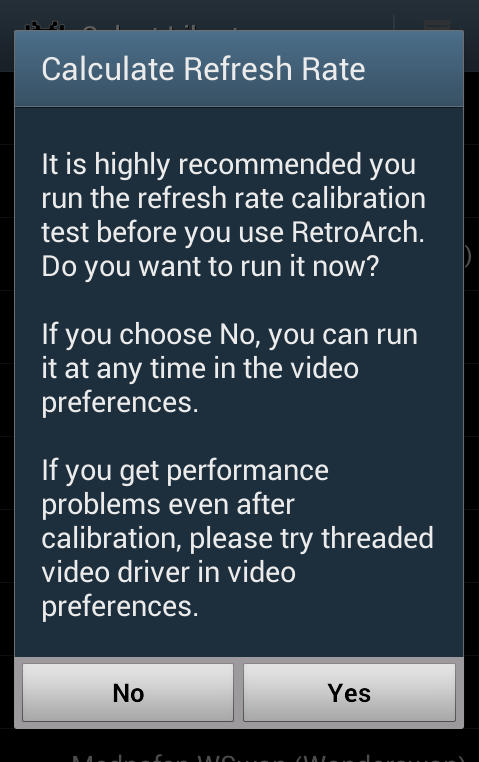
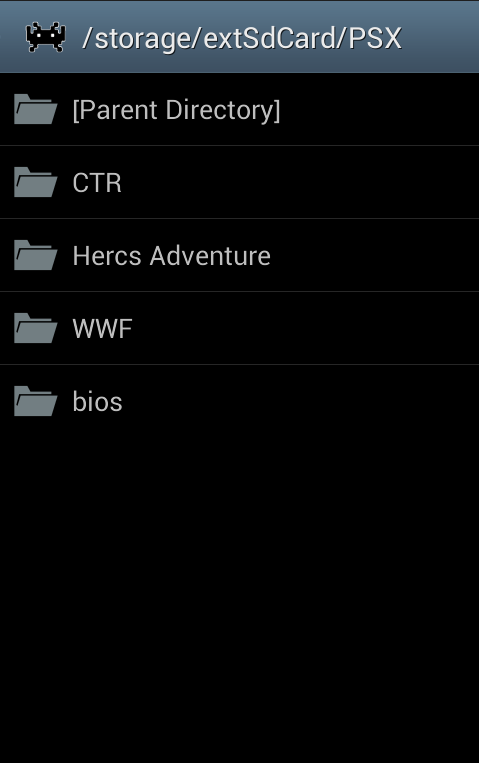
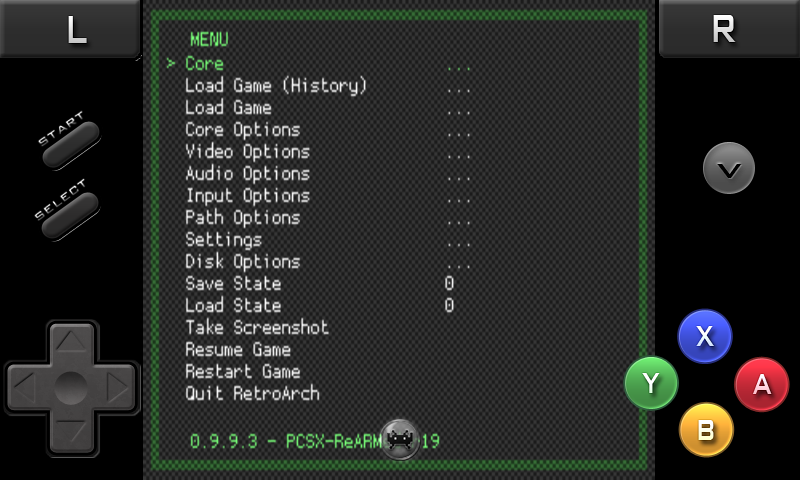
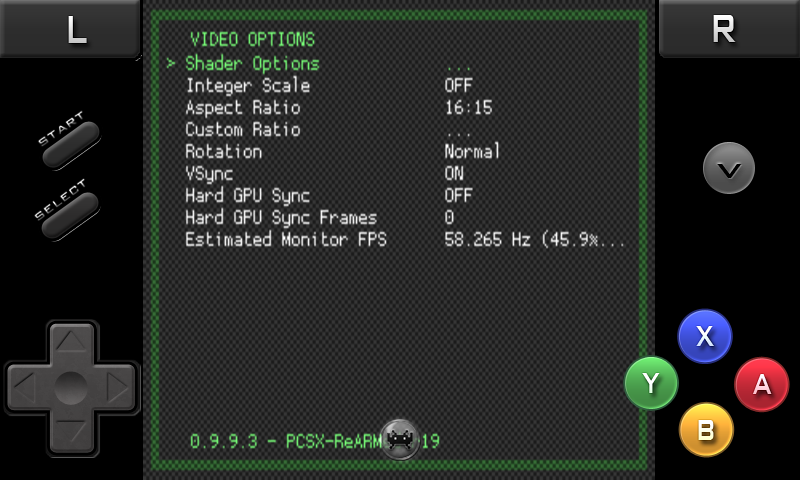
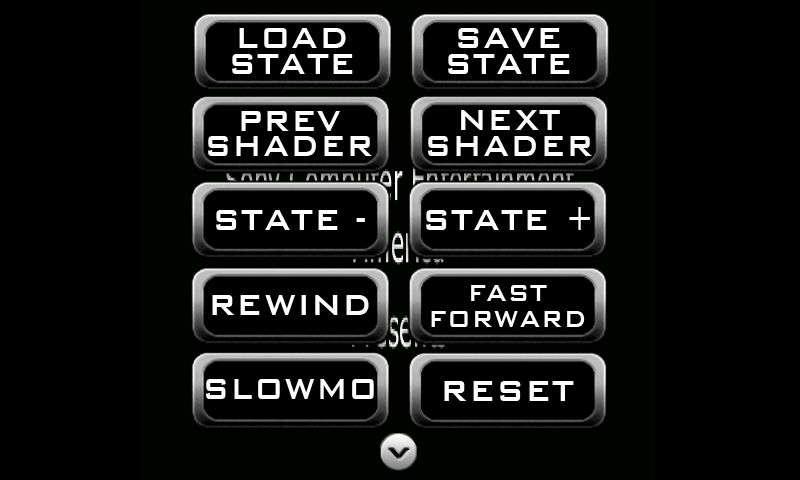
In order to provide PSOne emulation, RetroArch utilizes the PCSX ReARMed core, and it does the job reasonably well. Upon starting the emulator, you will have to choose the system you wish to emulate, in this case PCSX ReARMed, then straight to the file browser. In order to get the Bios working, you will have to put it in the same folder as the ISO image, or set up the appropriate path in RetroArch’s options. Unfortunately you won’t see the convenient game manager available in FPse and ePSXe and all the tweaking is done from within the game, using the on screen overlay pad.
The default settings provide fluid gameplay and good accuracy without graphical glitches. The HD mode yielded varying results in CTR including some pretty serious slowdowns, but no graphical anomalies.
Few Pointers
If you happen to get sound stuttering or skipping, the first thing you should try is to enable “spu sync”. This will attempt to remedy the situation, but can slow down the emulation a bit. Sound can also stutter if your device can not provide sufficient speed, which leads us to frameskipping. Frameskipping can speed up the game by skipping frames in an attempt to provide smoother emulation. However, setting it too high can backfire and result in speeded up jerkynes. There is no sweet spot because it varies per device, but safe bet would be the auto setting.
Do not transfer *.ZIP or *.RAR files, none of the emulators can read them. Unzip / unrar first, then transfer the iso / bin file to a separate folder (same goes for the bios). The .cue file contains the music tracklist and is accompanied by the larger .bin file needed for the game itself. You will need them both in order to listen the music tracks.
All of the emulators provide quick save and quick load functions, but they are always bound to the configuration used, especially the video plugin. You can’t expect to play some game to one point, save, switch to OpenGL and load it up. It won’t work.
Which one should you get?
Since RetroArch is free and provides multiple platform emulation, I suggest that you always keep it installed even if you decide to go with some of the paid emulators.
What about FPse and ePSXe?
They both provide similar compatibility and speed. I personally prefer FPse just because I am used to it and appreciate the large community support. On the other hand ePSXe has better menu layout and more importantly it uses the same memory card and saves files of the PC version. This means that you can start playing some game on the PC, then transfer the save files to your phone and continue playing.
Why do they cost money?
Both emulators are based on free projects, so why should you pay for them? To be honest, I consider the price tag to be more of a donation rather than profit. This way, the developers will continue their work and implement fixes, tweaks and updates specific to the Android version of the given emulator.
The bottom line is that all of these emulators are nearing 100% compatibility when emulating games in software (easy) mode. Using your Android phone / tablet as a portable gaming device is definitely possible. The only real question is, can you cope with the on-screen controls? Sure you can go ahead and buy some external controller with claw grip, but then you will have to carry it around with you. One other alternative is getting the Sony Ericsson Xperia Play. Its slide-out controls are supported by the emulators and work pretty well, however it is an older device with a single core processor stuck on Android 2.3.
Here are the 5 steps necessary to start playing
– Install some of the emulators from the links below
– Download or rip the game from the original CD
– Unzip / Unrar your game and Bios file
– Connect the device with your PC/Mac and copy them both to your SD card.
– Launch the emulator and load the game
Glossary of important option settings
Framelimiter – Limits the frames per second to 50/60 normalizing the emulation speed if the game is running too fast.
Frameskip – Skips frame in an attempt to speed up the game, can lead to jerky gameplay.
Print FPS – Shows frames per second. Ideally it should read 60 for NTSC and 50 for PAL games
Dynamic interpreter – In recompiler mode somes games can be not compatible, using this option can make the game running, but slower.
SPU Sync – Provides more accurate sound emulation and attempts to fix the sound stuttering problem, but will use much more CPU bandwidth making the emulation slower.
For more detailed explanation of all the option settings, visit FPse and ePSXe FAQ’s.
For unzipping / unrarring the rom ISO files, you can use WinRAR for Windows, Mac or Linux.
Since there are more than 2500 games available no one can really test them all, not even the developers. Because of that, user-made compatibility lists started popping around the net, providing compatibility rating from personal experience. Unfortunately none of the developers of these emulators bothered to make an official or even unofficial compatibility list. The old list for the FPse emulator hosted on their website was already out of date when it went offline last year.
by Dejan B.
Download RetroArch
Download FPse
Download ePSXe
Discover more from AndroGaming.com
Subscribe to get the latest posts sent to your email.

Pingback: Android Emulation: Nintendo - AndroGaming
Pingback: Games on Sale (28-Aug-2022) - AndroGaming
Pingback: AetherSX2 PS2 on Android tutorial - AndroGaming