
How to Set Up EmulationStation on Android
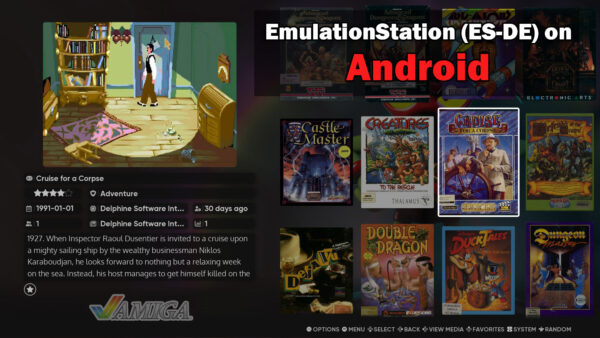
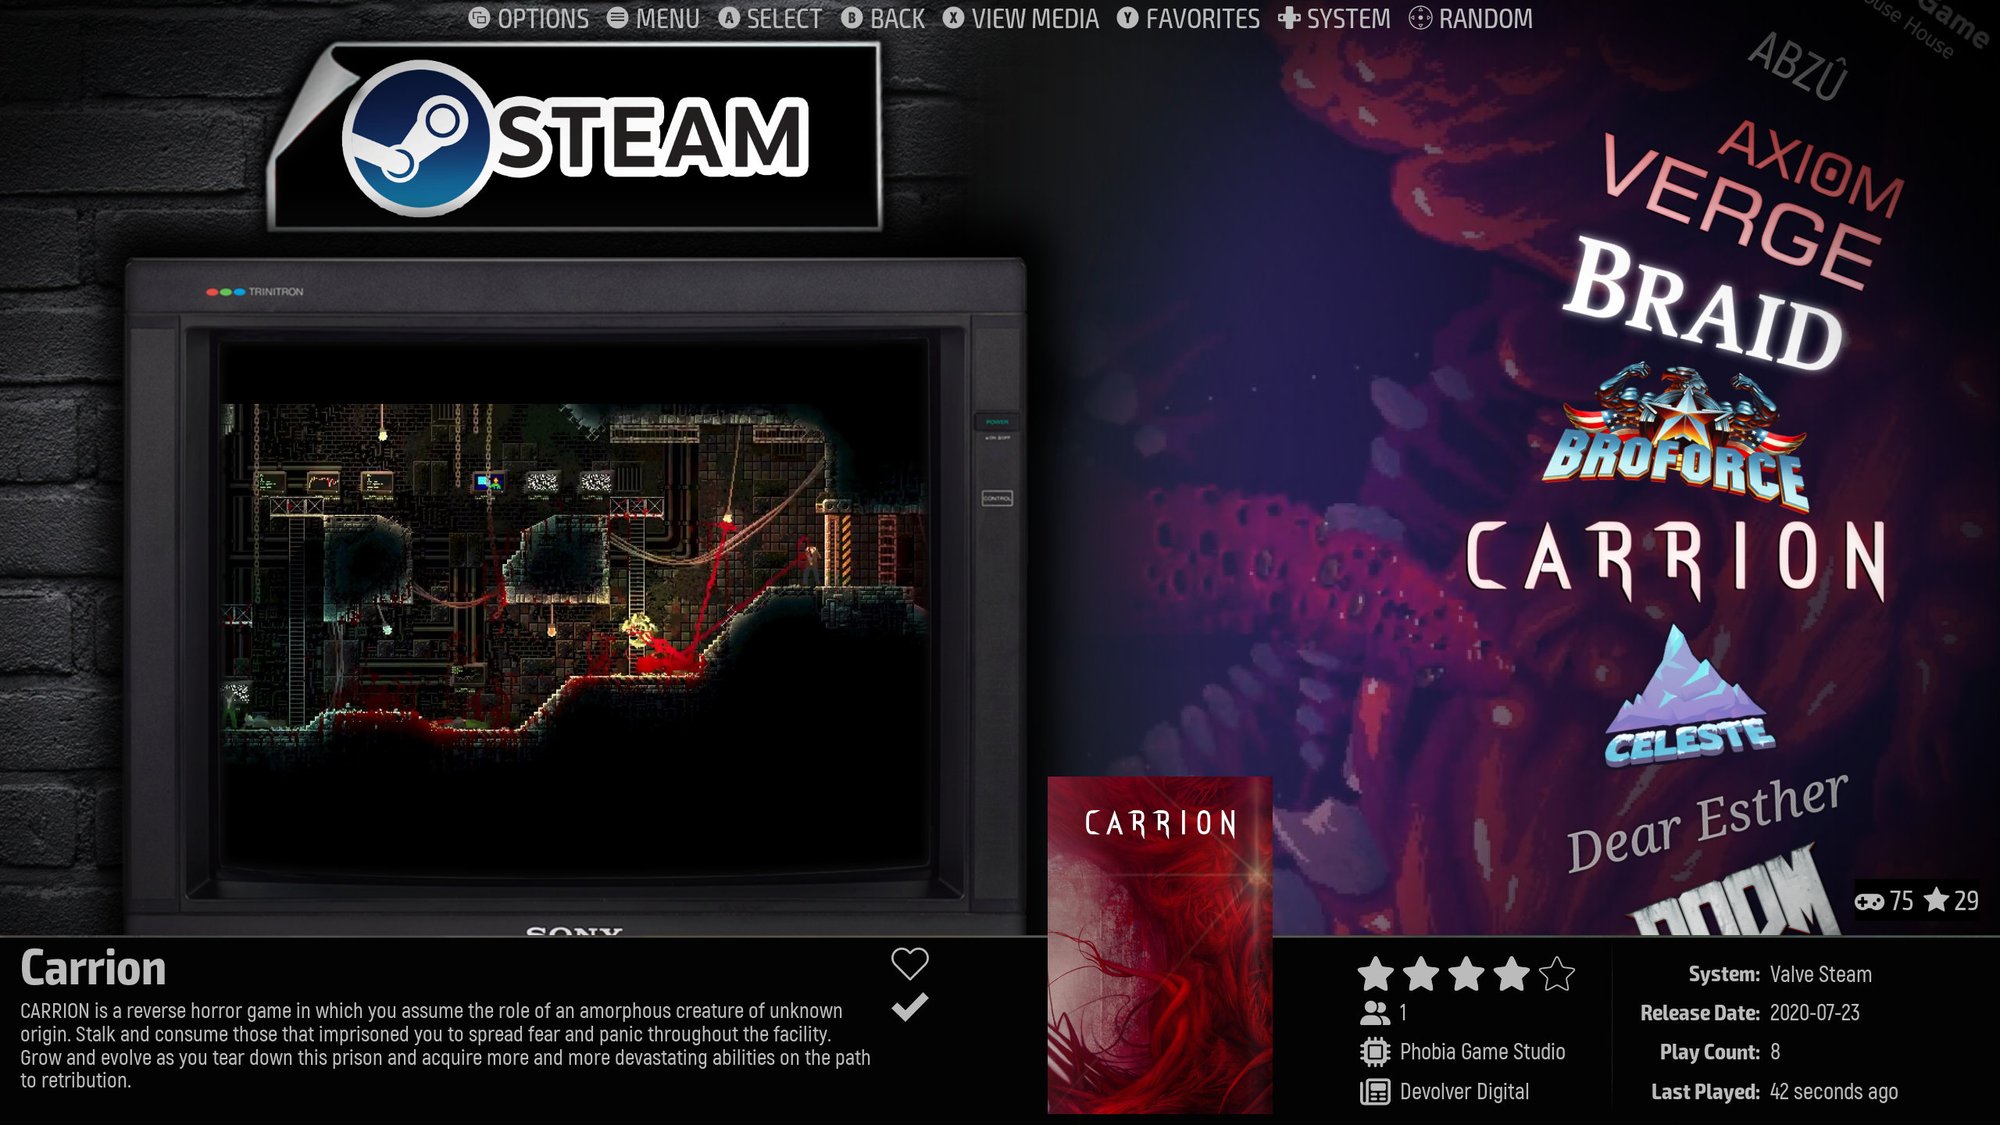
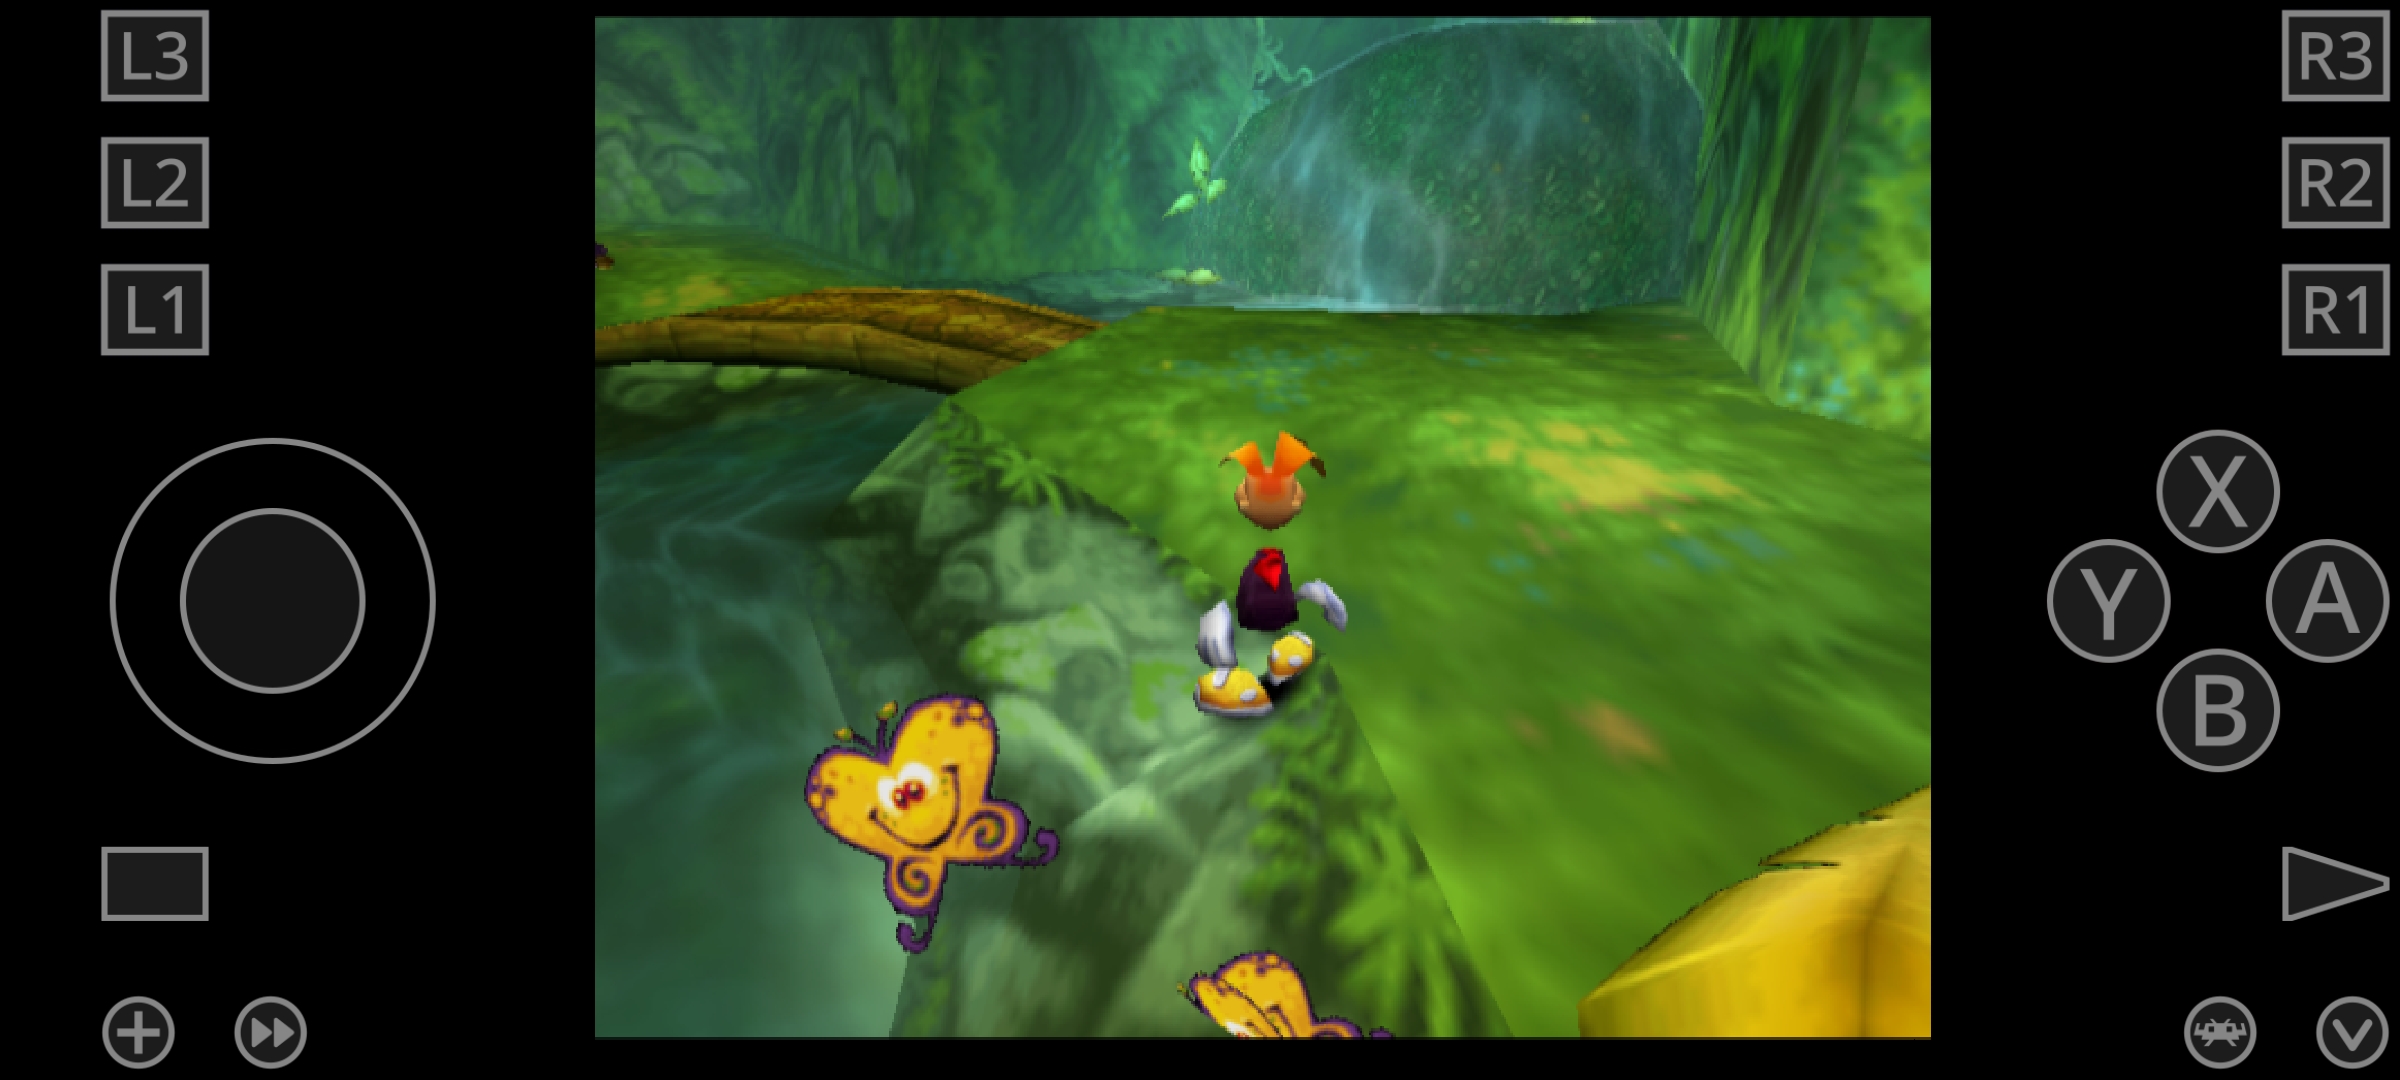
Before we dive into the setup, let’s talk about what EmulationStation actually is and why it’s cooler than just launching games the boring way. Think of it as the home screen your retro games deserve, much like Netflix for your shows. Instead of digging through confusing folders and filenames like “sonic2finalfixedV3(working).zip”, you get a clean, beautiful interface with game art, console logos and that nostalgic “Saturday morning with no homework” vibe.
It’s basically your own custom-built arcade, minus the sticky floors and that one broken joystick. EmulationStation doesn’t play the games itself. It’s more like the stylish maître d’ that shows you to the right emulator. Once it’s set up, launching a game feels way more satisfying. And hey, nothing says ‘I’ve got my life in order’ like perfectly sorted ROMs and a startup chime that hits harder than your morning coffee.
Is it Free?
Now, here’s the part where things get slightly spicy. EmulationStation is totally free and open-source on PC and Linux. You can download it, tweak it and build your dream retro setup without spending a cent. But on Android? It’s a paid app. Why? Because Android’s sandboxed file system is basically a fortress with a moat, a drawbridge and a dragon named Scoped Storage. To make everything work smoothly, accessing folders, launching games, handling emulators the developers had to rebuild chunks of it specifically for Android and jump through Google’s hoops. That takes time, testing, and a lot of coffee. So the Android version comes as a small one-time purchase, not a subscription, to support that effort. Think of it like tossing a coin to your dev, except it actually unlocks something useful.
So if you came here to download the ES-DE.apk, sorry to disappoint, otherwise read-on.
Step 1: Download Required Files
Start by getting the EmulationStation Android port. It’s available through the official website and the “cheapest” way to get it is to become a “Patreon”. You’ll also need:
- A file explorer app (like Solid Explorer or X-Plore)
- ROM files for your games
- BIOS files (depending on the emulator core)
- An emulator backend like RetroArch or Standalone Emulators like PPSSPP
Download the latest EmulationStation Android APK, and install it manually. Enable Install from Unknown Sources in your device settings if needed.
Step 2: Set Up Folder Structure
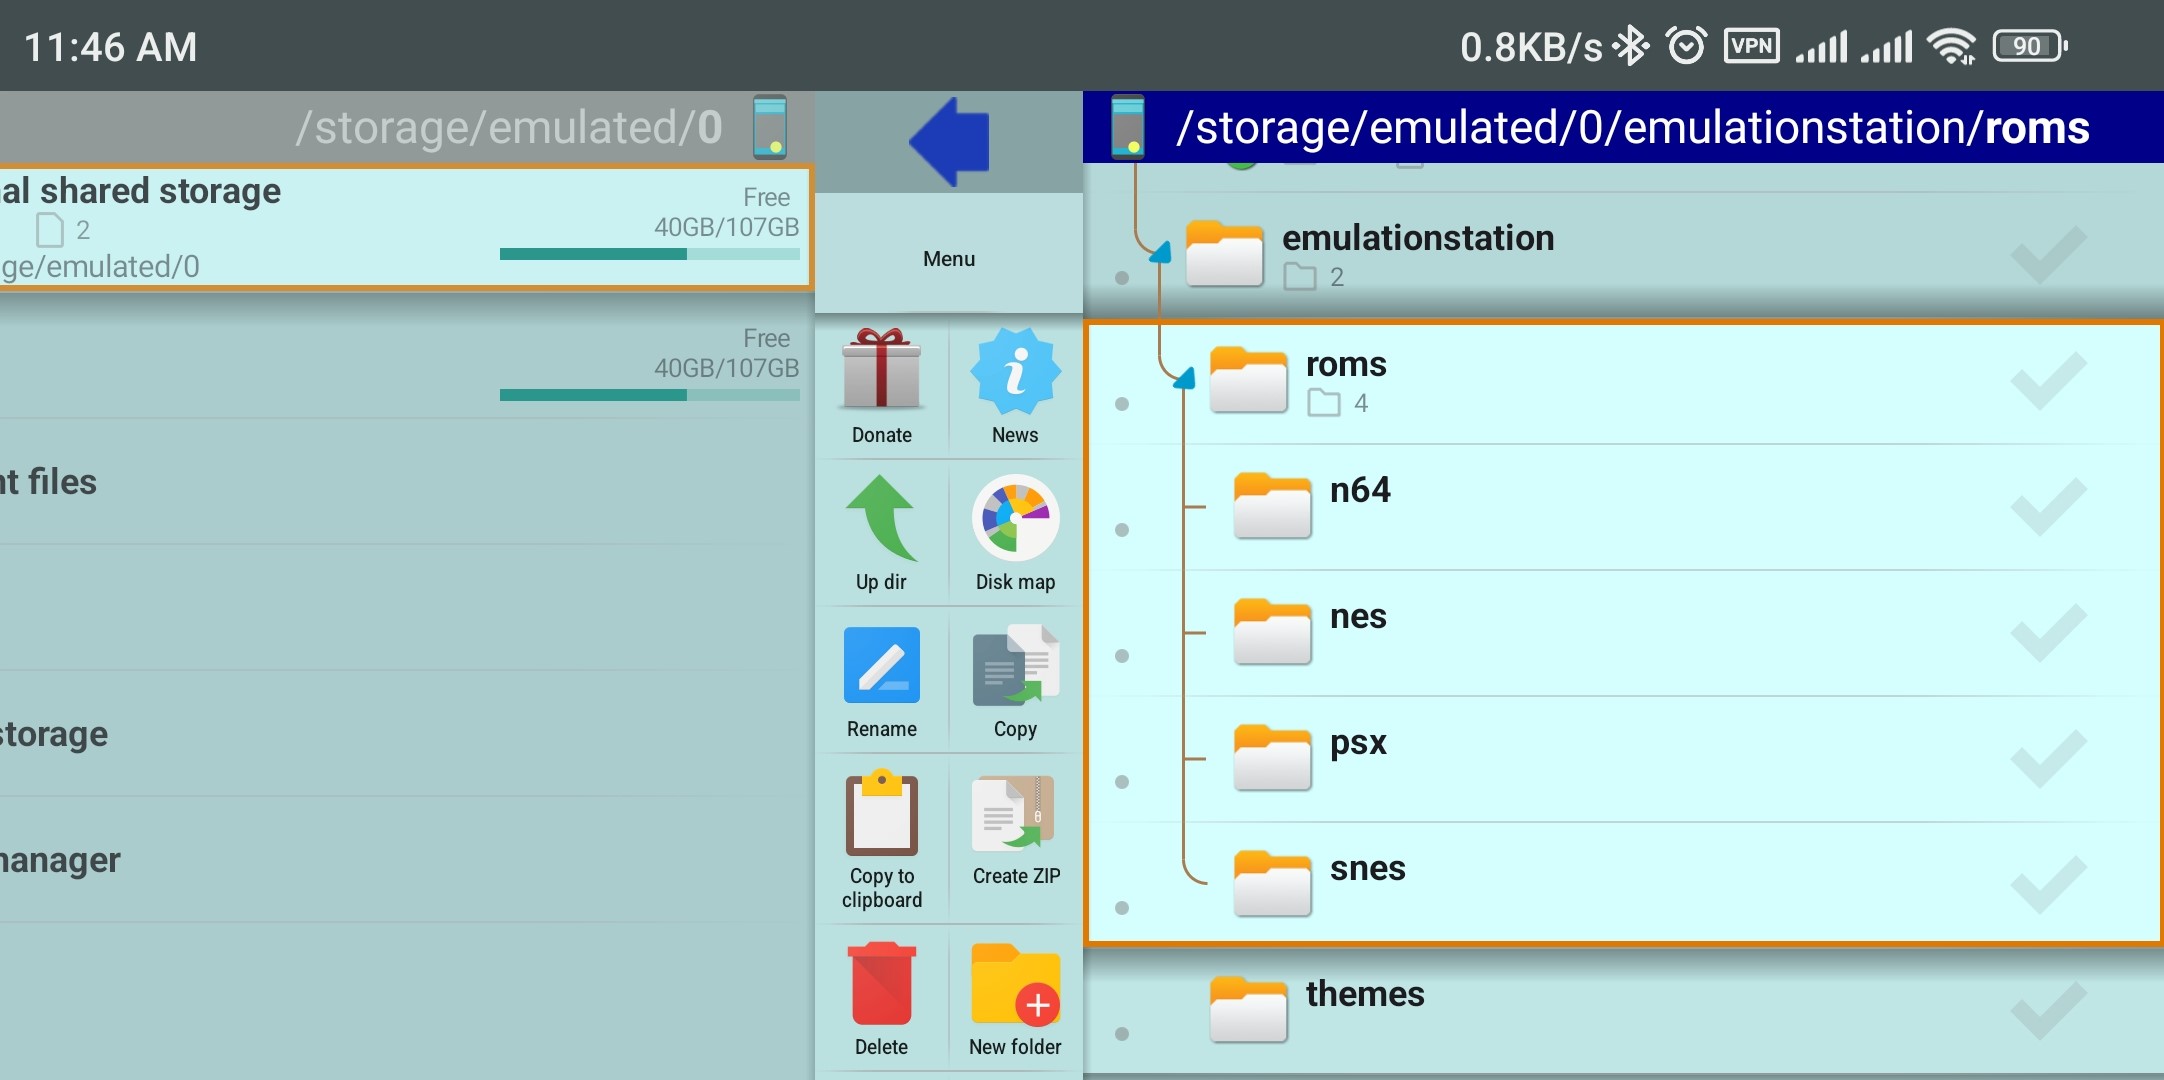
Once EmulationStation is installed, you’ll need to create the correct folder structure, use one of the aforementioned explorer apps:
- On your internal storage or SD card, create a folder named:
emulationstation - Inside that folder, make a
romsdirectory:emulationstation/roms/ - Add console subfolders like:
nes,snes,psx,n64, etc.
So the path becomes:emulationstation/roms/nes/, and so on. Note, this is optional, on first launch ES-DE will ask if you want it to create all possible subfolders. - Place your ROM files in the correct folders.
Step 3: Install and Configure the Emulators
As you’ve probably noticed by now, ES-DE is not an emulator, but rather a (very) pretty frontend. This means the actual emulation is still handled by other apps like RetroArch, so you’ll need to configure those separately.
In this example, I’m using RetroArch in combination with Nintendo 64 games.
First, you need to download RetroArch from the Play Store, install it, open it, grant all the permissions it requests and finally install the N64 core so you can launch and emulate your games. The process to install a core in RetroArch is very simple. Open RA, select “Load Core“, select “Download a Core” and chose the desired one from the list. That’s it.
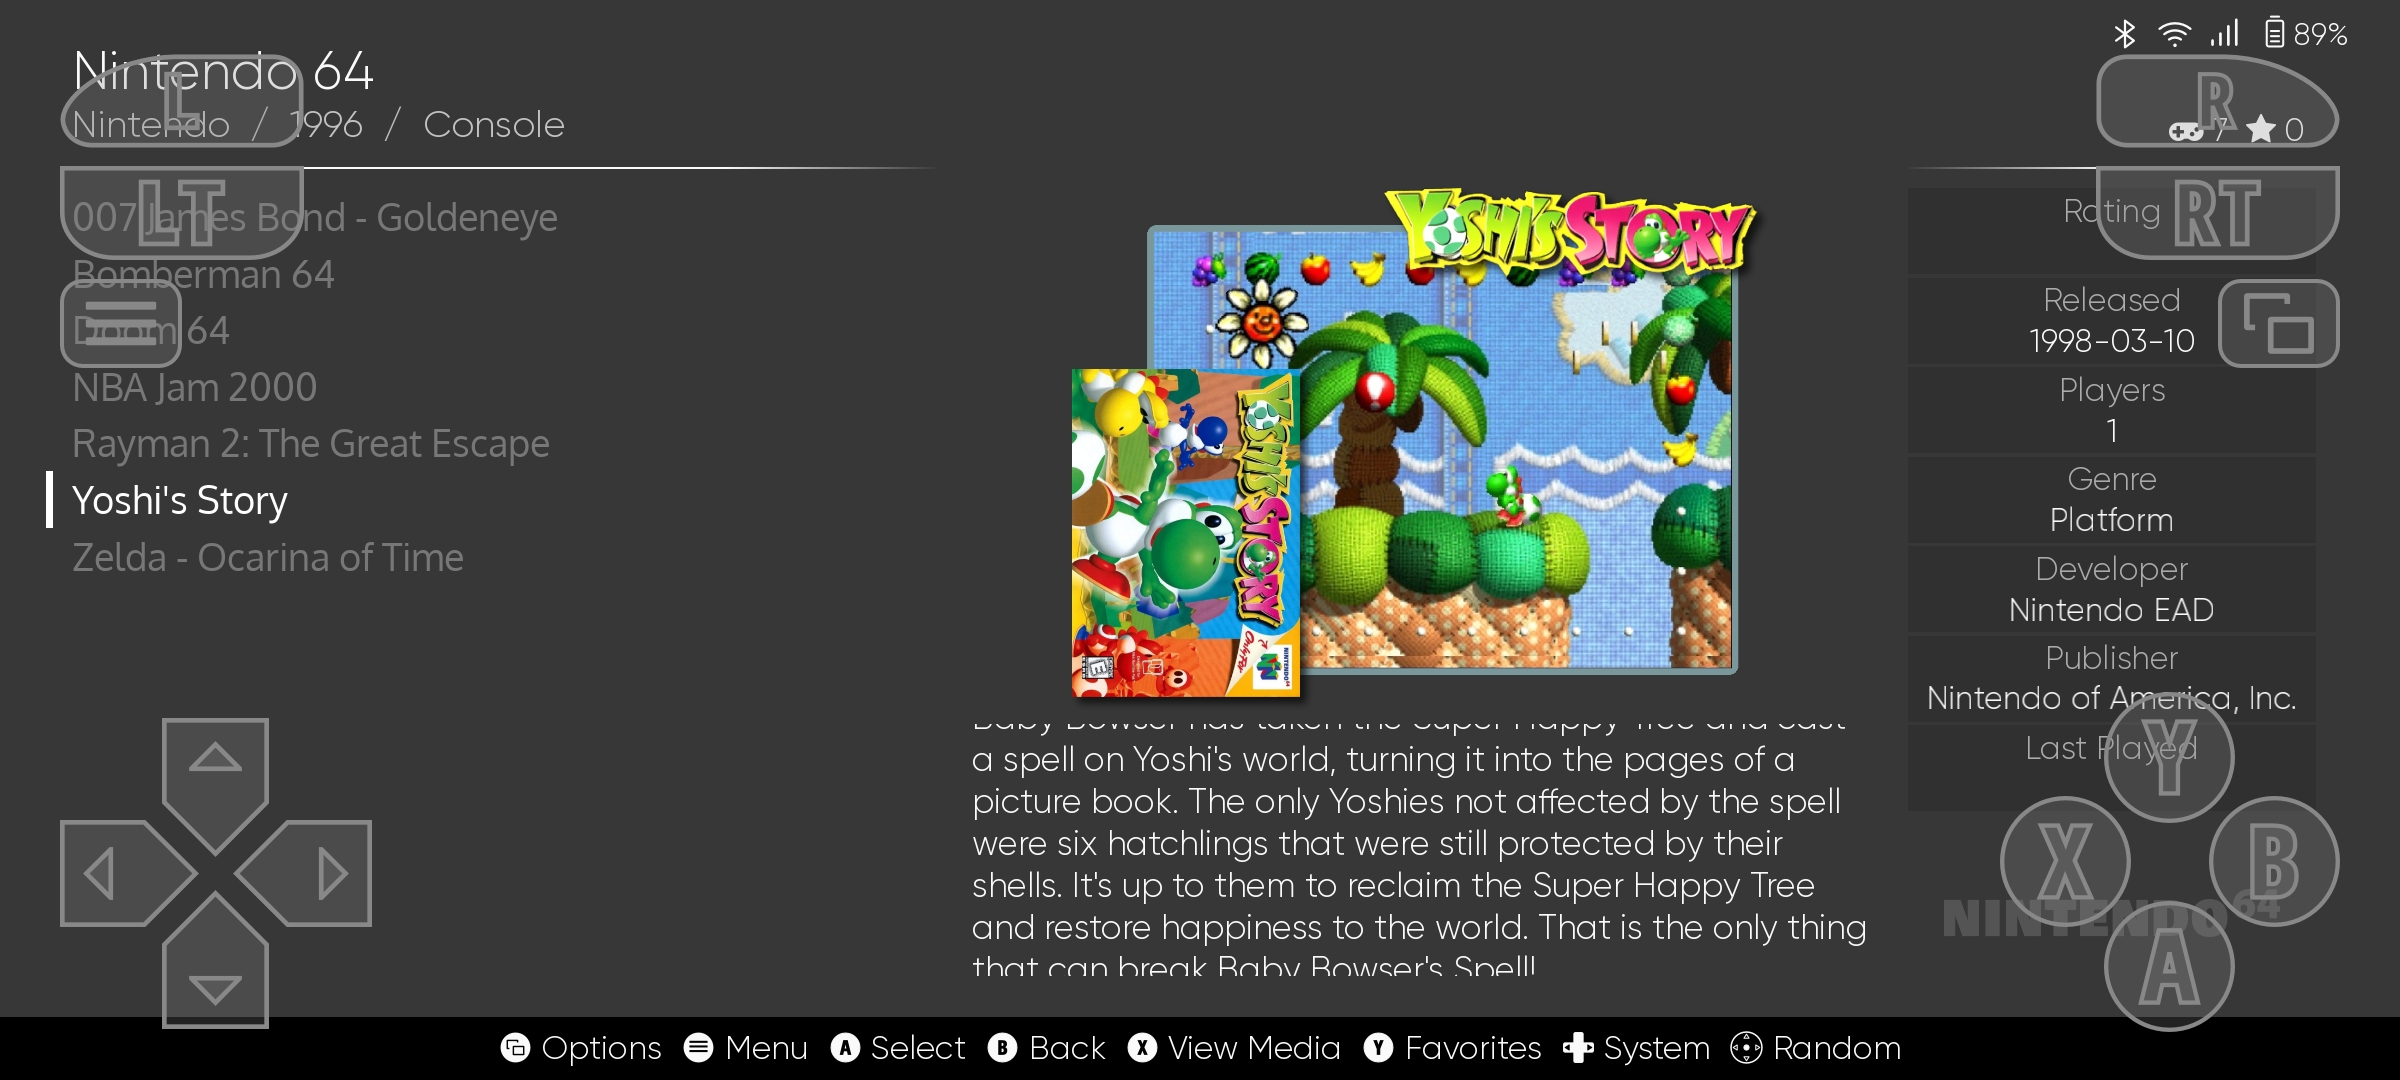
This same process applies to every other system you wish to emulate.
If ES-DE finds ROMs for a system, it will display that system in the main menu. Each subfolder in the roms directory (if you let ES-DE create the folders) contains a file called systeminfo.txt. This file includes instructions telling ES-DE which emulator to use, along with a few variables and CLI options.
- Example for N64 games via RetroArch:
%EMULATOR_RETROARCH% %EXTRA_CONFIGFILE%=/storage/emulated/0/Android/data/%ANDROIDPACKAGE%/files/retroarch.cfg %EXTRA_LIBRETRO%=/data/data/%ANDROIDPACKAGE%/cores/mupen64plus_next_gles3_libretro_android.so %EXTRA_ROM%=%ROM%
Which means, this system will attempt to call RetroArch and use the mupen64plus_next_gles3_libretro_android.somupen64plus_next_gles3_libretro_android.so
You can easily modify this line to use different core in RA, or entirely different emulator for that matter.
You can also edit es_systems.cfg to customize system names, logos, extensions, and commands. This file is usually found in:/storage/emulated/0/Android/data/com.emulationstation/.../es_systems.cfg
Edit it using a text editor that supports root or scoped storage access.
Step 4: Helper Apps
If you’re having trouble launching certain emulators directly from EmulationStation, especially ones that don’t like being summoned by command-line magic, check out ES AppLauncher. It’s a small helper tool that acts like a translator between EmulationStation and stubborn Android emulators. Basically, instead of trying to launch a game through complicated commands, you point ES to the AppLauncher and it handles the handoff to your emulator of choice. It’s especially handy for standalone APKs that don’t play nice with parameters or need specific intent extras. Not everyone will need it, but if you’re getting blank screens, failed launches, or RetroArch just stares at you silently, this tool can save you hours of headache.
Step 6: Add a Controller and Test
Connect a Bluetooth or USB controller. Most gamepads are recognized automatically. You can configure inputs inside EmulationStation or rely on RetroArch’s input config.
Restart EmulationStation after making changes to refresh the game list. If ROMs don’t appear, double-check folder names and file extensions in the config.
Step 7: Polish the Setup
- Add box art or scrape metadata with tools like Skraper on PC, or try the built-in scrapper (it worked fine for me).
- Customize your theme for a better look.
- Adjust power-saving and screen timeout settings for long sessions.
The app has built-in theme support and that’s a big part of why people like EmulationStation. Once you’ve set everything up correctly, you can feast your eyes on a variety of themes all downloadable directly from within the app. There’s everything from retro-style pixelated menus to modern eye candy like PS2 and Switch inspired layouts.
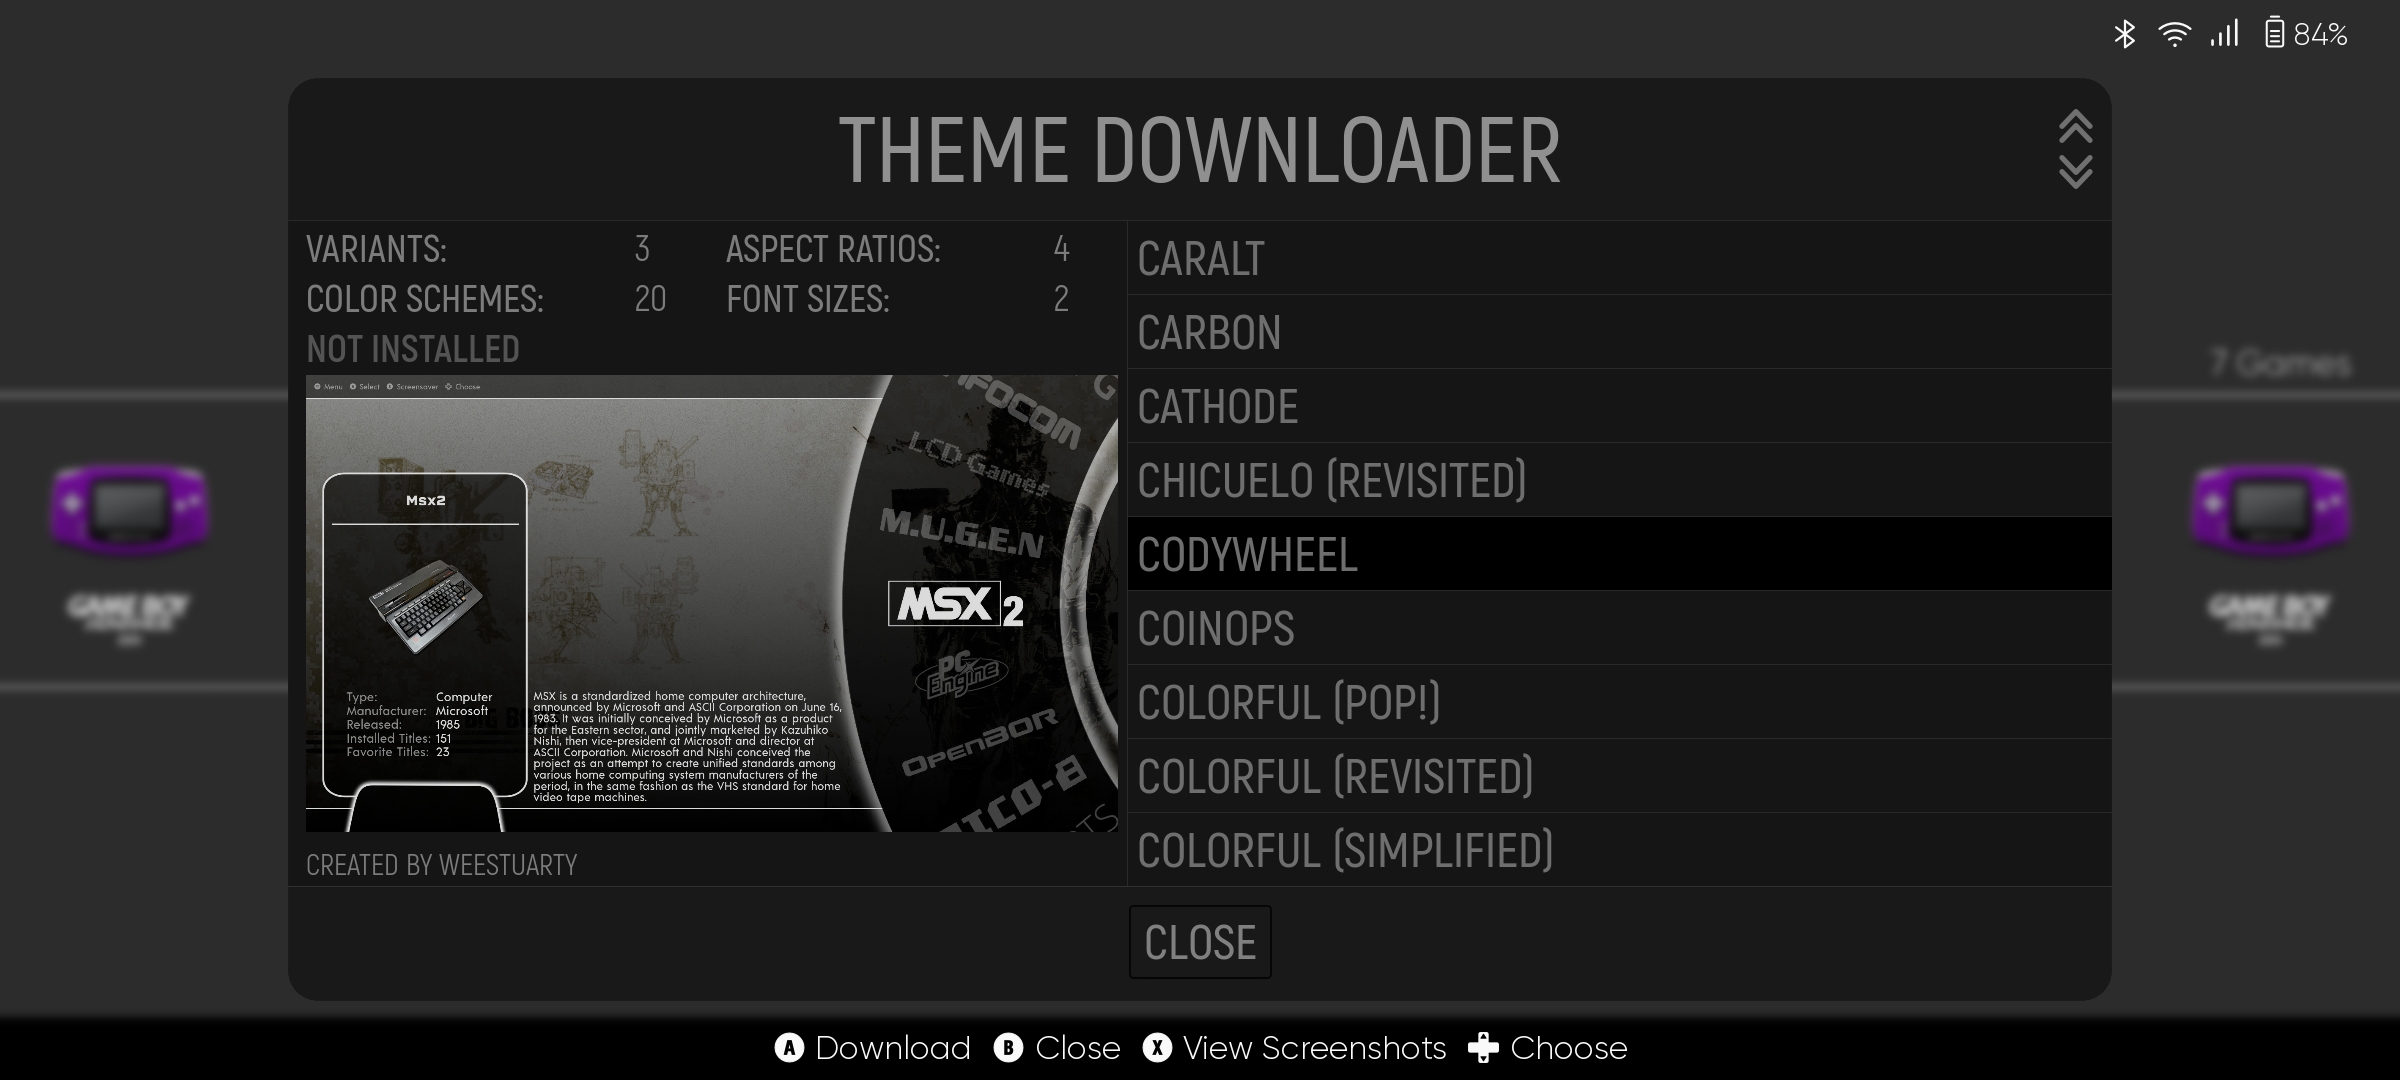
If for some reason you don’t find everything you ever wanted in there, you can download more themes on GitHub or forums. Just make sure you extract them in the correct folder:emulationstation/themes/
And that’s it, you’re now the proud curator of your own pocket-sized retro museum. Whether you’re revisiting Super Mario World for the hundredth time or finally trying that obscure Sega game your cousin swore was “better than anything on PlayStation”, EmulationStation turns your Android device into a time machine with a touchscreen. There’s something comforting about scrolling through old game covers and hearing those familiar sound effects, it’s like finding your favorite hoodie from high school, but with fewer stains.
So go ahead, fire it up, and lose an hour (or three) reliving the glory days. Just remember: saving state before a boss fight is fine. Telling your younger siblings you beat Battletoads without dying? That’s where we draw the line.
Dejan Balalovski
Discover more from AndroGaming.com
Subscribe to get the latest posts sent to your email.
Pingback: Daijishō scraping fix for CPS and NeoGeo - AndroGaming.com