
Android Games on PC (Windows)
PC machines, or more precisely the x86 (and later AMD64) architecture, were always the central hub for emulating all other systems and platforms. Mainly under Windows and Linux. The Android platform is no different and it can be emulated on modern PC’s easily. Whether you like having an Android device in a “window”, or you simply want to play your favorite game with mouse and keyboard – you can.
This is a tutorial how to prepare your PC for Android emulation, enable virtualization and pretty much everything you need to get started.
First Things First – System Requirements and Virtualization
First of all, you will need a CPU that supports virtualization. The easiest way to check this (in Windows 7) is to download the app called CPU-Z from here and run it. Look at the window and under “Instructions” look for either “VT-x” or “AMD-V“. The first one is for Intel CPU’s and the second one for AMD. In rare cases, you can see “VIA VT” that indicates VIA CPU, which is not really capable of emulating anything these days.
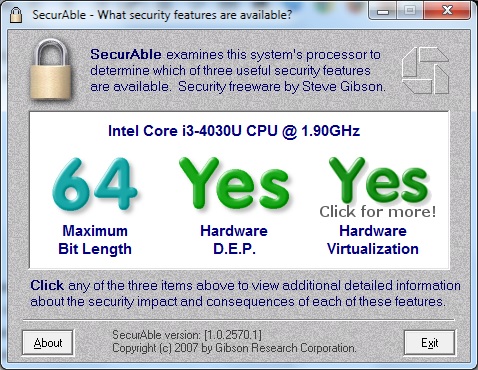
Alternatively you can get SecureAble, a freeware program that will tell you if virtualization is supported and enabled.
[template id=”6521″]
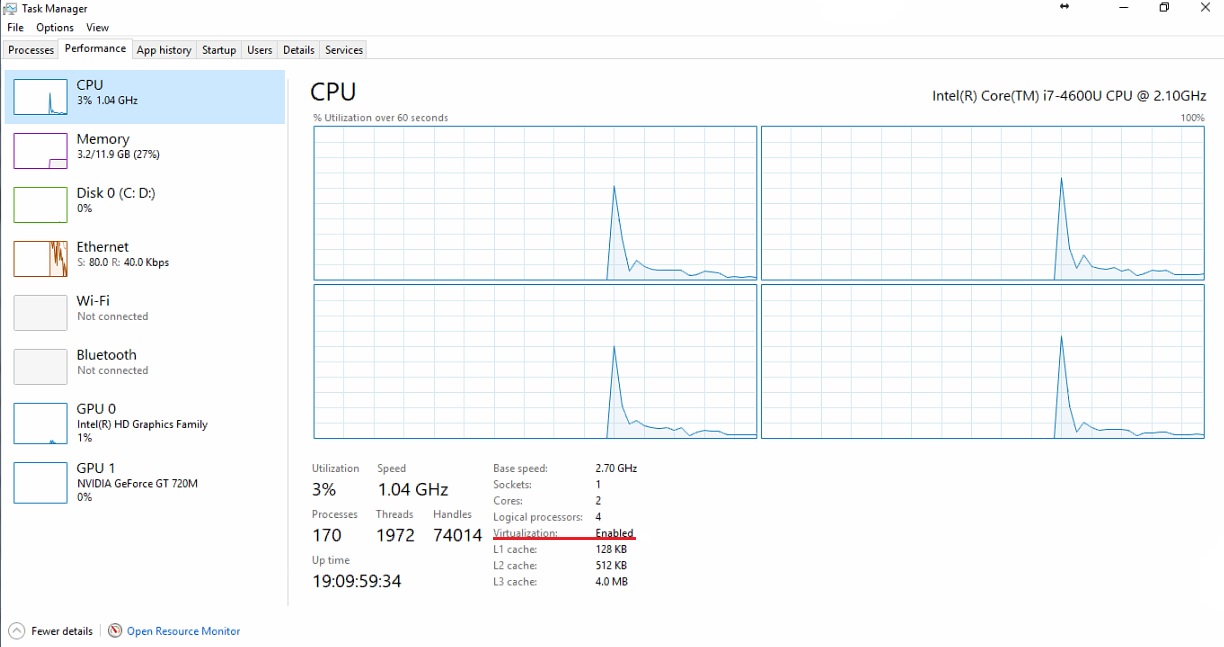
Windows 10 (also 8 and 8.1) users can simply launch “task manager” by pressing Ctrl+Alt+Del and clicking on Task Manager from the menu. Under the performance tab, it should say “Virtualization: Enabled”.
If for some reason virtualization is not enabled, you will have to reboot and enter the bios to enable it manually. Most motherboards use the F2 or the “Del” key as shortcut to enter the bios. Keep pressing these keys immediately after you power-on the computer, if it doesn’t work – consult your motherboard manual for the correct key. After you enter the bios successfully, look for the “cpu virtualization” option and enable it. There is no universal guide where to find this options, so you will have to “lurk” around the menus. Once enabled, exit saving changes (usually F10).


The minimum CPU requirement depends on what you plan to do inside the emulator, the complexity of the game you are trying to emulate etc. As a general recommendation I would say Intel’s Core i5 (Sandy/Ivy Bridge) and AMD’s Phenom II or better CPU’s would be sufficient for general use.
Memory Requirements
This is very debatable. As a bare minimum, I would recommend at least 4GB of DDR3 or faster DRAM. The Android emulators use the available memory in a specific way. If you assign 2GB of RAM to be used for your virtual Android machine, that means Windows will be left without it. More is always better and with 8 or 16 GB you shouldn’t have any problems even if you multitask between the virtual machine and your regular desktop.
Android Emulators on PC
There are couple of different emulators that you can use. The number 1 choice these days for me is NoxPlayer which I will write about in this article. You can also try Bluestacks, Andy OS (currently on Marshmallow), Droid4X and Memu Play. There are even more Android emulators out there and we will probably publish separate articles for each at some point, but for now we stick to Nox.
NoxPlayer 6
Although user experience with Android emulators can change with time (Bluestacks for example), Nox Player 6 for now offers pretty painless setup and works with most games on the play store. To download it, visit bignox.com and grab the latest version. The installation is pretty straight-forward and once it finishes, you can see the newly created icon on your desktop. To start your virtual Android, double click it and wait for the system to boot. This will get you inside Android 4.4.2 (KitKat). If you want a newer version, you can also run Android 5.1.1 (Lollipop), but you will have to set it up separately (and they work as separate Android devices too). Unless there is a reason for you to stay on KitKat, here is a short guide how to make the newer version work.
Getting Android 5.1 to work on Nox
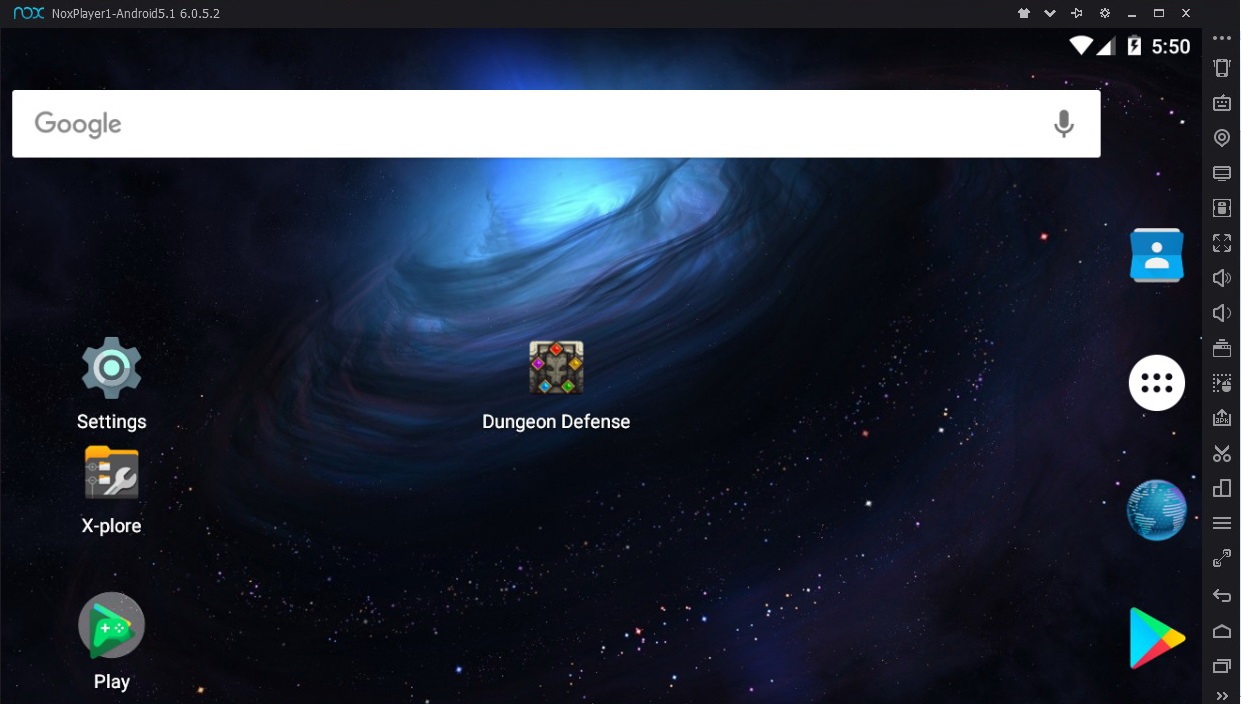
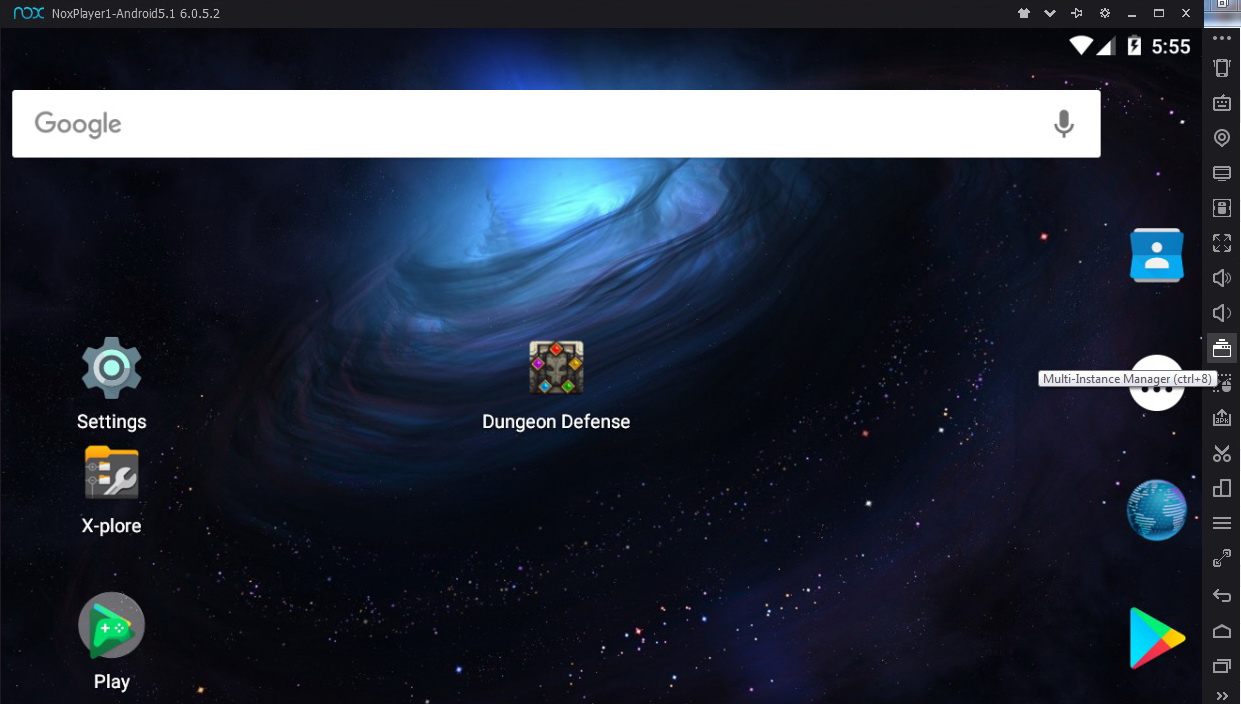
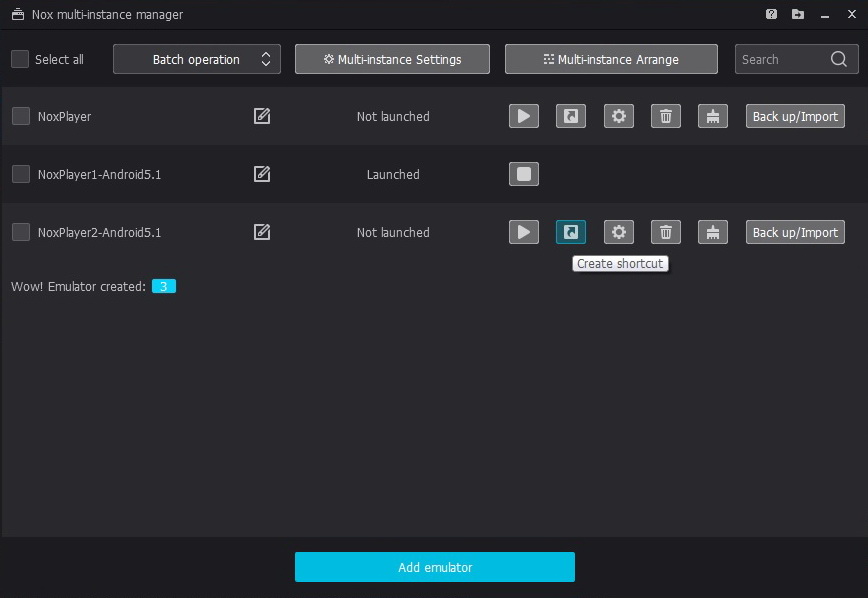
Either find the “MultiPlayerManager” icon on your desktop, or click the small icon as shown on the picture below.
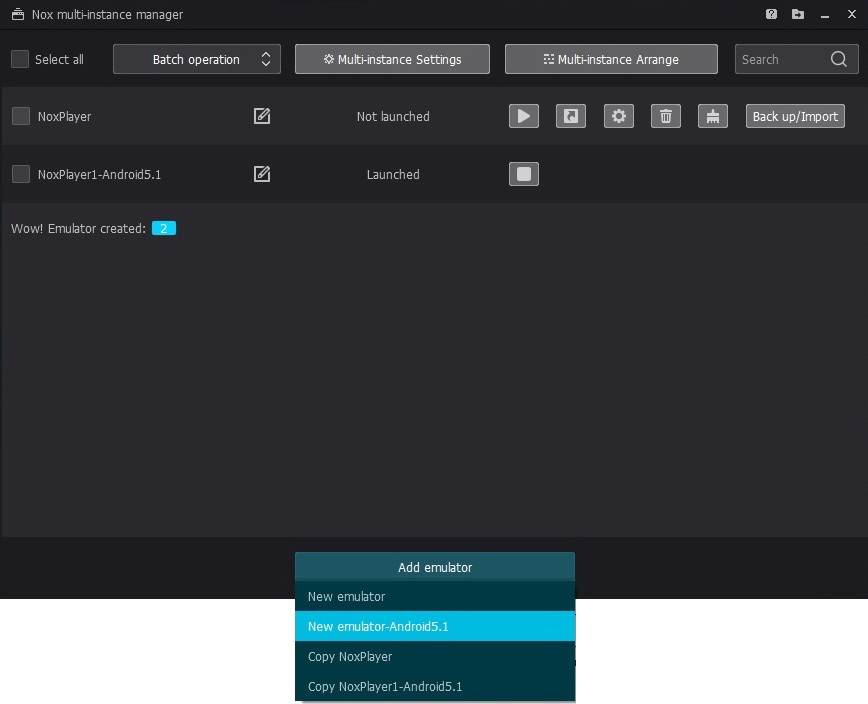
This will open the Multi Player Manager, which basically manages all your virtual instances. To create a new virtual machine, press the big blue “Add emulator” button. From the drop-down menu, select Android “new emulator-Android 5.1”. Wait for the process to finish and click the second icon to create shortcut on your desktop. Shutdown everything. Launch Nox from the newly created icon, wait for it to finish booting and you are done.
At this point, you can click the gear icon on the top bar to fine-tune your virtual machine. You can select to root it if you like and under the “advanced” tab you can find the cpu/ram options. If you don’t really know what you are doing, selecting the “middle” option should be fine for start. You can also tweak the resolution, emulated tablet model, fake location etc.

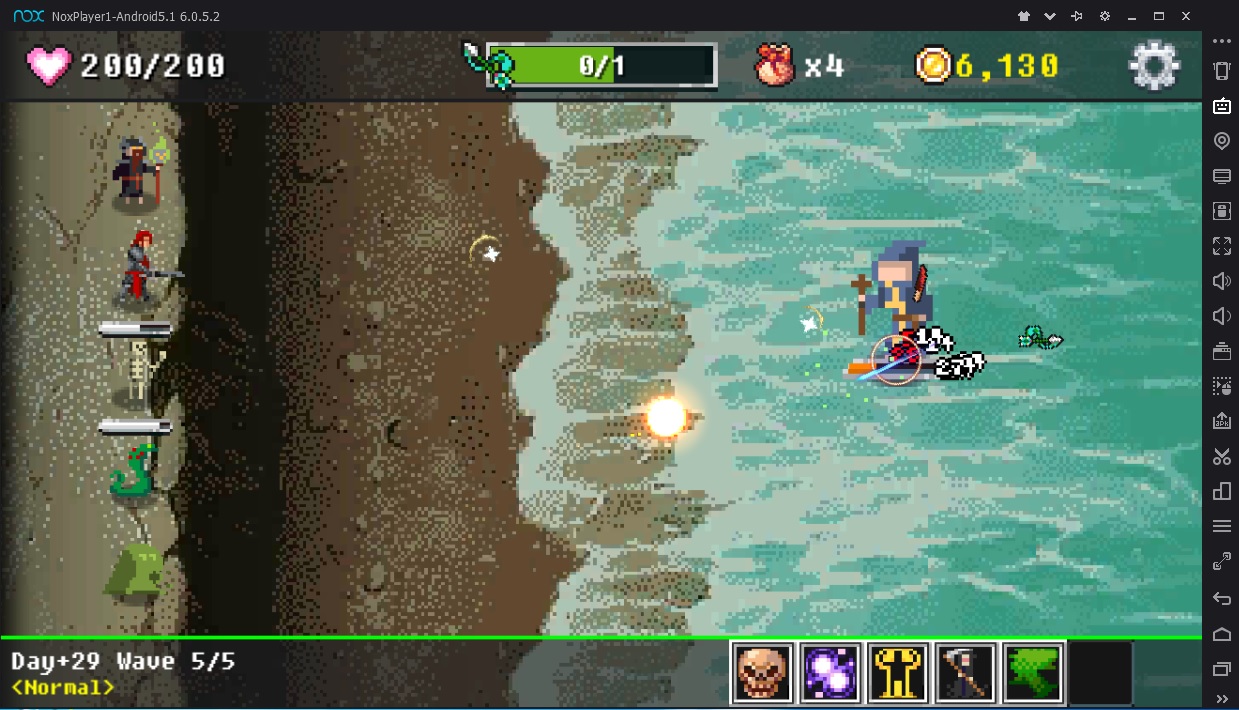
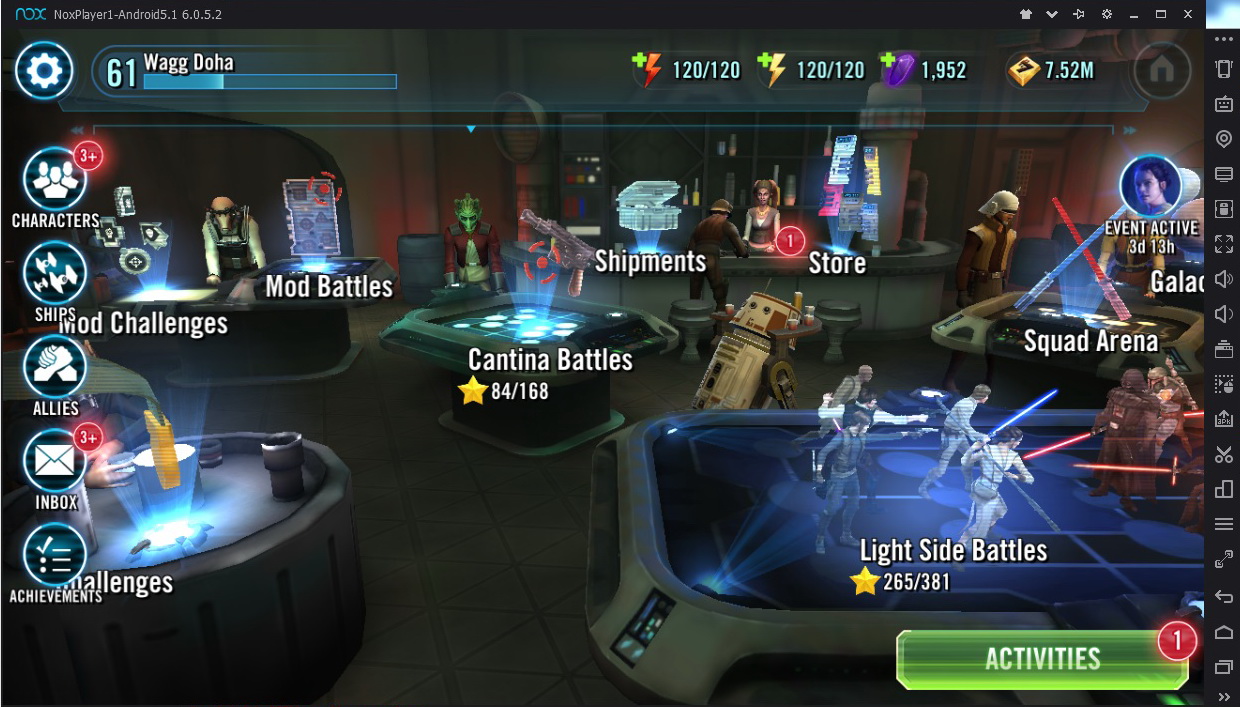
Now its time to finally add your Google account, launch the Play Store and install whatever you like, just like on a regular Android device. To map your keyboard and mouse buttons, launch the game first and click the tiny keyboard icon on the right bar. From there you can map WASD for movement, mouse clicks, custom buttons and pretty much everything else you need.
Changing the default launcher in Nox
Although the stock Nox launcher isn’t really that bad, it shows icons for app that are not actually installed in your virtual machine (part of a promotion maybe?). You can install your favorite launcher from the Play Store easily, but Nox sometimes reverts back the default launcher when rebooted. To keep him at bay, you will have to do a little tinkering under the hood.
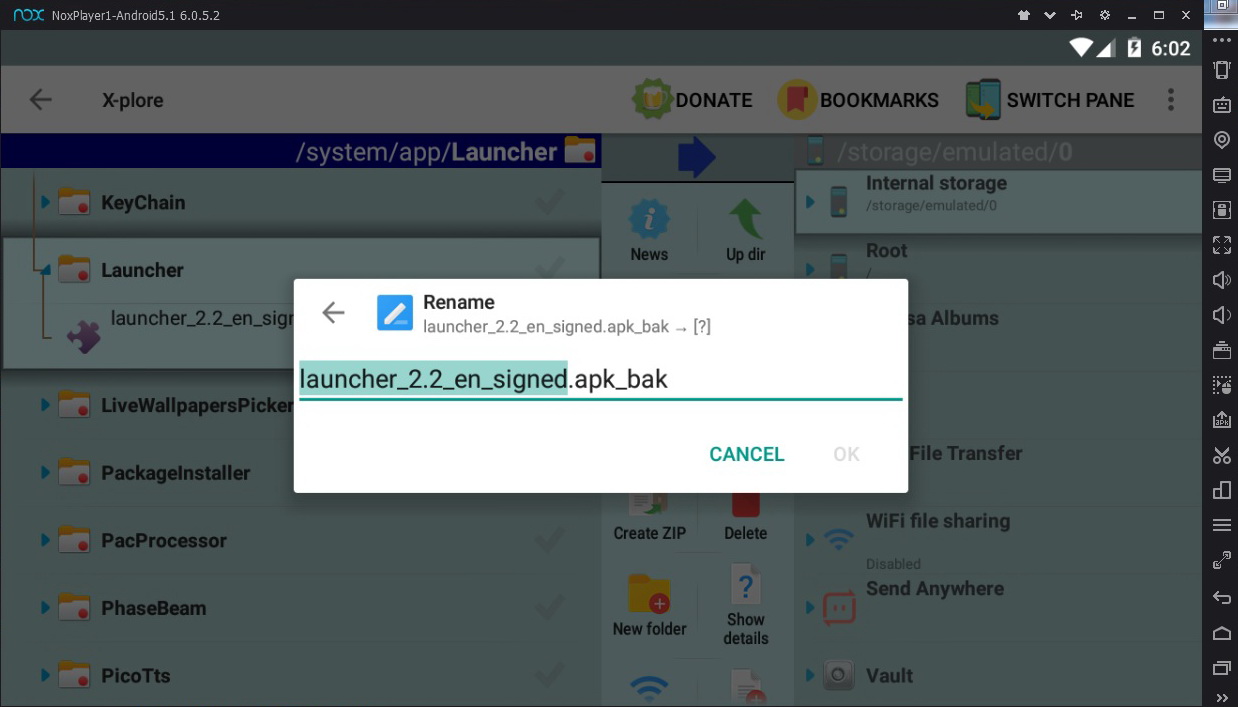
First install your favorite launcher from the Play Store (Nova, Apex, Google or anything else). Once installed press the home button and set it as default. Now install X-plore File Manager from the Play Store as well. Click the gear icon, enable “root” and reboot the machine. Once it boots, fire up X-plore, enter the configuration panel and make sure that under “Root Acess” you have “Superuser + mount writable” selected. Go back. On the left pane navigate to “/root/system/app/Launcher“. There should be a file called “launcher_2.2_en_signed.apk”. Long press on it and a menu will pop-up. Choose rename and just change .apk to .apk_bak at the end. That’s it, reboot and you are done.
Sideloading APK’s, taking Screen Shots and recording Videos
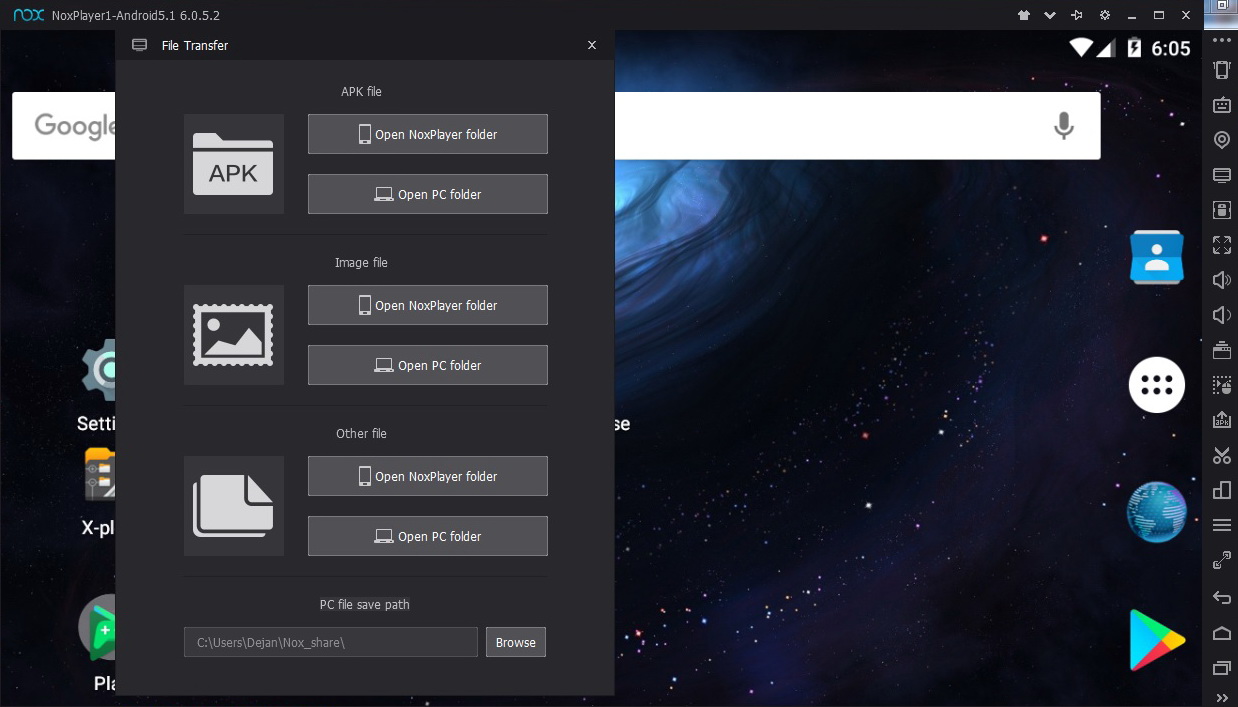
Side-loading an APK is relatively easy. If you have the APK you wish to install on the same computer you are running Nox, simply drag and drop the file inside Nox and the installation will begin automatically. Simple as that.
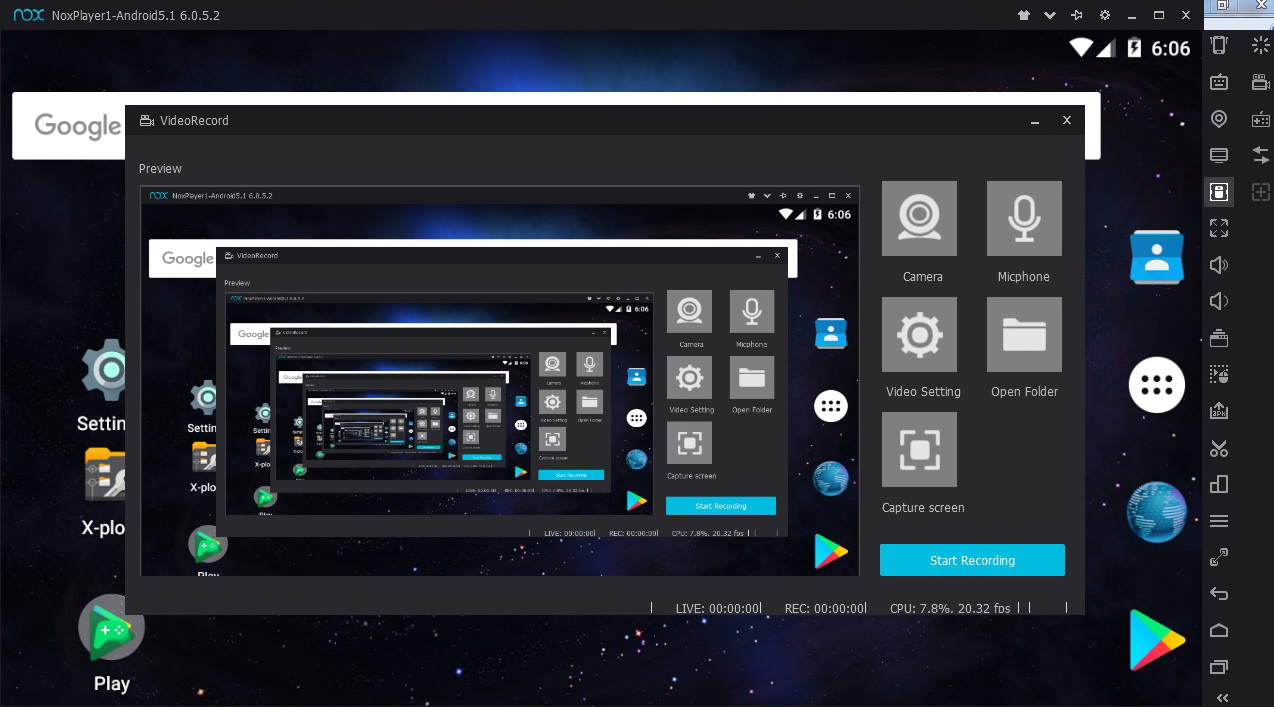
If you have a Youtube channel, or a website similar to ours, you will definitely use the screen recording and screen capturing utilities. For taking screenshots, simply click the scissors icon and the emulator will save the screenshot. For video recording, click the video camera icon and follow the instructions to install the video recording utility. Alternatively, you can also use other apps like Fraps.
If you have a laptop running dual GPU system (Intel’s Integrated Video + nVidia or AMD dedicated GPU), you will need to make sure that Nox uses the right video card for maximum performance. There are guides how to do this on the following links:
For Intel + nVidia graphics cards
For Intel + AMD or other variations
This should cover everything you need to get started and Play Android Games on your PC. Some games will refuse to work, but most of them will run just fine. If you get stuck at some point, use the comments below to ask a question and stay “tuned” for more Android articles related to emulation in Windows and Linux.
Dejan Balalovski
Pingback: Noxplayer Blue Archive edition?